![]()
Search Wild Foods Home Garden & Nature's Restaurant Websites:
In The Zone 5
A Gardening Diary by: Pamela Walsh
October 9, 2017
This ongoing article is all about my own gardening experiments and learning experience. I have practically no history of gardening, but I’ve begun a new life and in this version, I’m claiming “Gardener” as part of my identity. I’ll post articles on projects as they come up, and I plan to share both my gardening successes and failures.
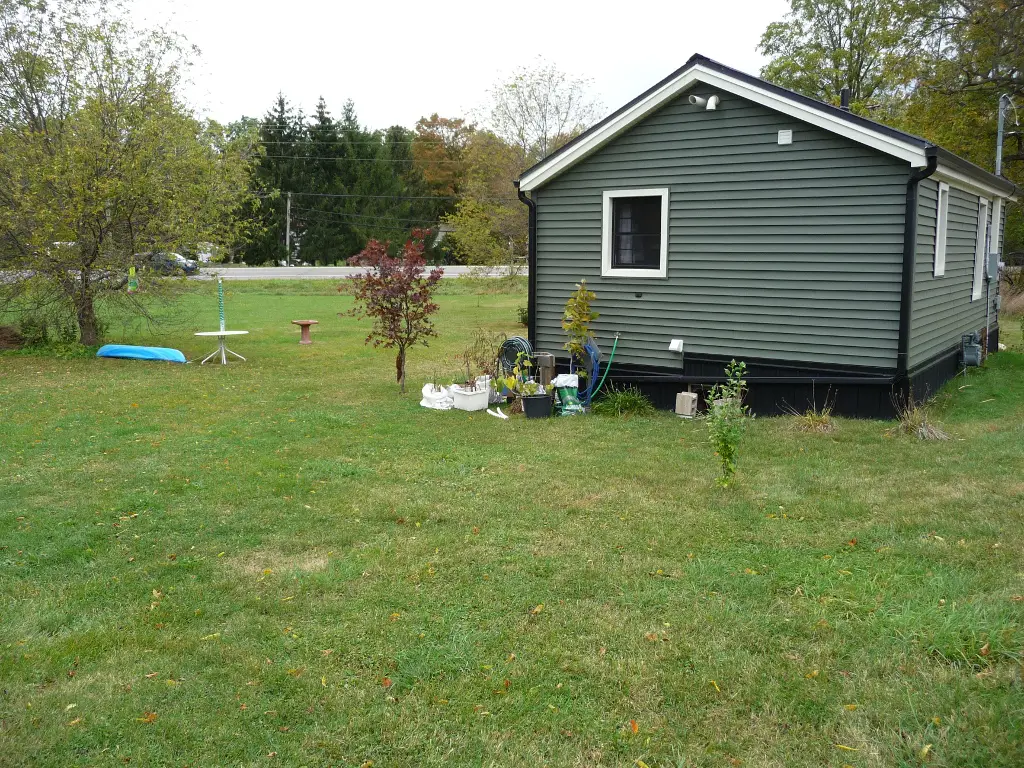
To give you an idea of where I’m coming from, five months ago I moved from the busy metropolis of Toronto to a tiny hamlet in Southwestern Ontario, just a five-minute drive north of Lake Erie. I own a tiny house, surrounded by an acre of lawn that seems to stretch as far as the eye can see. I bought this place just over three years ago, because I knew I wouldn’t be able to afford staying in Toronto once I retired (I’m no spring chicken). As luck would have it, my job ended a couple of years sooner than expected, and last spring I suddenly found myself living here.
When I was in Toronto, I rented an east-facing, fourth-floor apartment, with no balcony - couldn’t even try growing a tomato plant in a pot. Meantime, over the course of the past three years, I had put in a couple of small flower beds on either side of the house’s front porch. This past summer, I extended the flower beds and stuck in a few vegetables. I have also planted little trees here and there, including four fruit trees, three of which were decimated by Japanese beetles.

Picture of House and Yard.
My first project for this article is to begin establishing a no-dig vegetable garden behind the house. I’m going with the no-dig method because it turns out gardening is a lot of work and I’m trying to make this as easy as possible. I chose the location because there’s plenty of room for later expansion, it will get full sun, it’s close to my outside tap, and I’ll be able to look at it from my kitchen window.
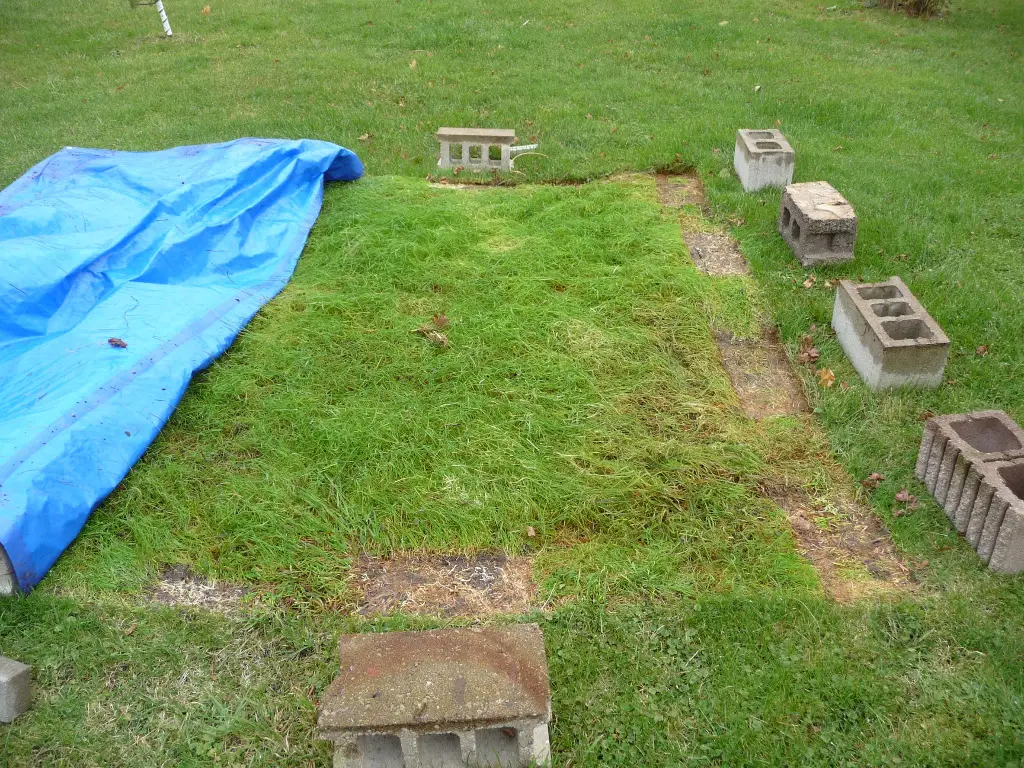
The first step is to kill the grass, which I plan to do by simply laying a tarp over it to block the sunlight, and leaving it there until spring. I was told it might be a little late, because it’s almost mid-October and the grass is already close to dormancy, so it might not die enough. I should have started this project weeks ago. Usually, layers of cardboard and mulch are used to cover the grass to block the light, breaking down over the winter and becoming soil. But I’m going to use a tarp, and in the springtime I’ll have some topsoil delivered to spread over the patch. The biggest tarp I could find at Canadian Tire is only 8’ x 10’. It seems kind of small for a vegetable garden, but I was advised not to bite off more than I can chew. If I decide to expand the garden in the future, I might try the cardboard and mulch method. We’ll see how it goes.
"Before" Picture. Where the garden is going to go.

Photo of tarp weighed down with blocks.
May 28, 2018
On November 17, 2017, about a month after I put the tarp over the grass, I decided to have a peek to see how things were going. Turns out the grass loved it under there and had continued to grow and grow - I guess enough light was getting through the tarp. I knew when I was beat, so I gathered up all the cardboard and brown paper I had lying around and covered the long grass, except for one little patch on the side because I ran out of cardboard and paper. I put a layer of black earth over everything, about 2-3 inches deep, sprayed it all with water, then covered the whole thing with the tarp again, weighed it down with cement blocks, and waited.
Six months later, on May 25, 2018, I removed the tarp and to my utter amazement and relief I found only beautiful soil. All the grass was dead and pretty much completely decomposed, except for dried-out tufts here and there. There wasn’t a trace of cardboard or paper, which had also decomposed. A couple of healthy dandelions had sprung up under the tarp, but it was easy to remove them from the soil.
Following instructions from a friend, I poked holes in the whole garden using a pitchfork pushed in to the hilt every 4-6 inches, and rocked it back and forth to loosen the subsoil for moisture and root expansion. I discovered it’s not a good idea to turn over the soil, as it holds beneficial microorganisms that are good for your plants. Turning the soil over kills the microorganisms by exposing them to air and sunlight, and then your plants don’t benefit in the long run. And besides, it defeats the purpose of a no-dig garden, which is to make your life easier as well as having happy and healthy soil.
I’ve included some photos with captions to show the process:
Grass grew under the tarp for a month before the cardboard and paper were layed down.

Cardboard and paper covering most of the long grass.
Black earth (with a few wood chips) spread 2-3 inches deep over the cardboard and paper.

Covered with tarp and ready to go, again.
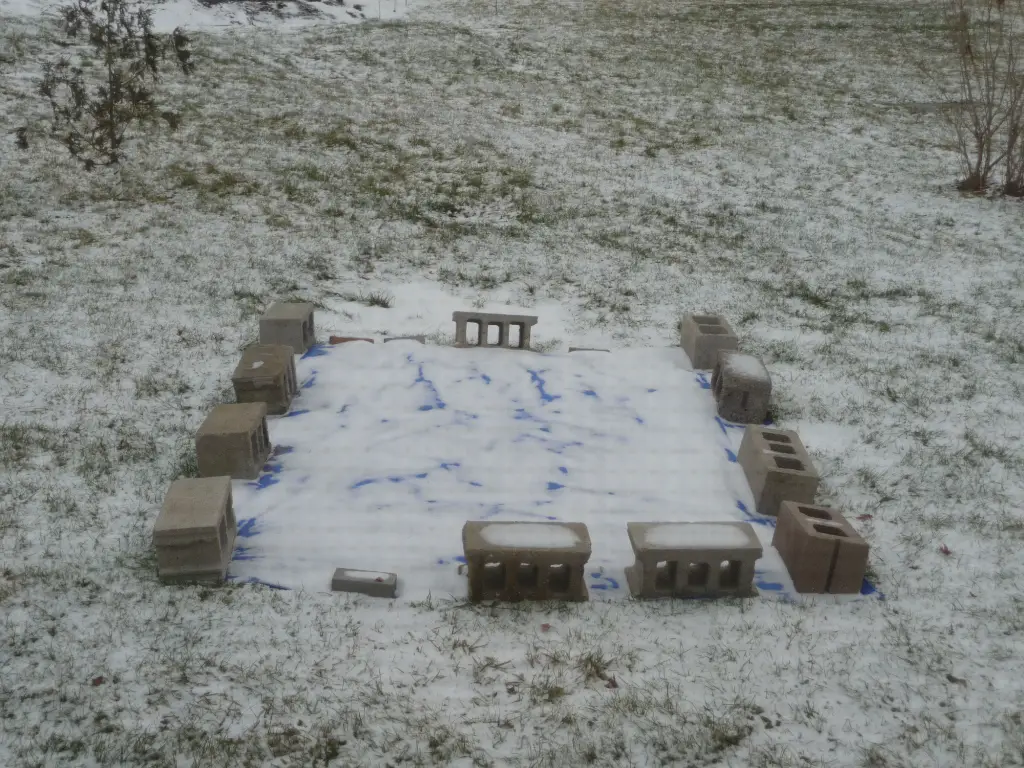
Through the frost....

...and the snow...

...and the flood in February...

The unveiling on May 25, 2018. Drum roll, please.
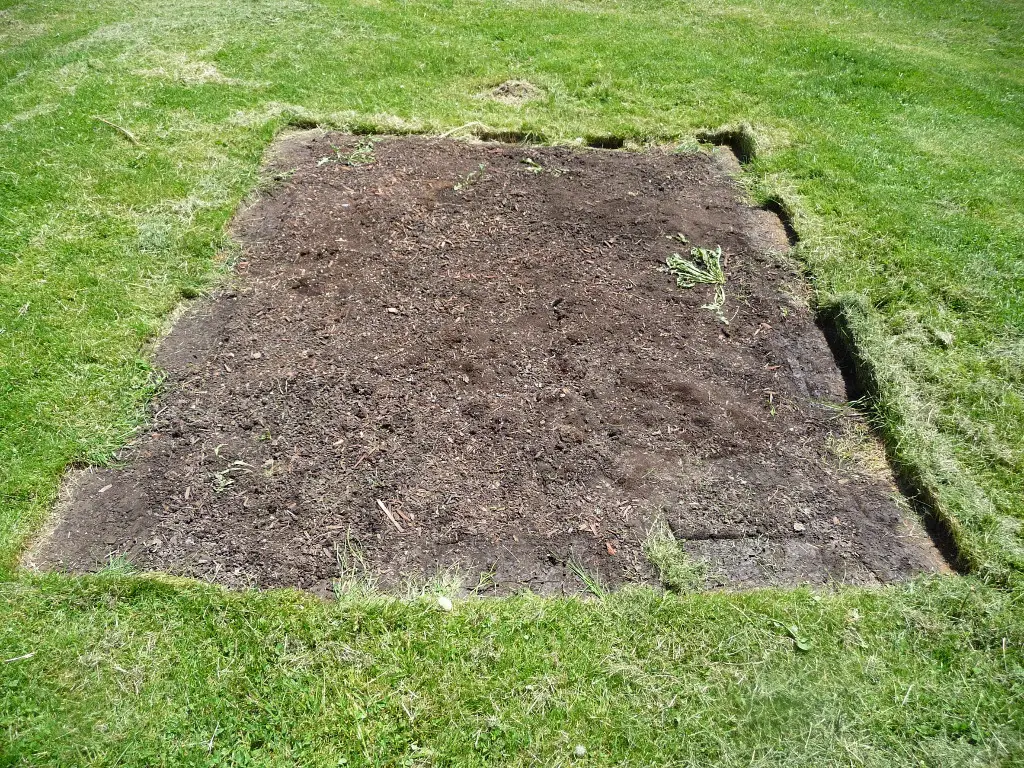
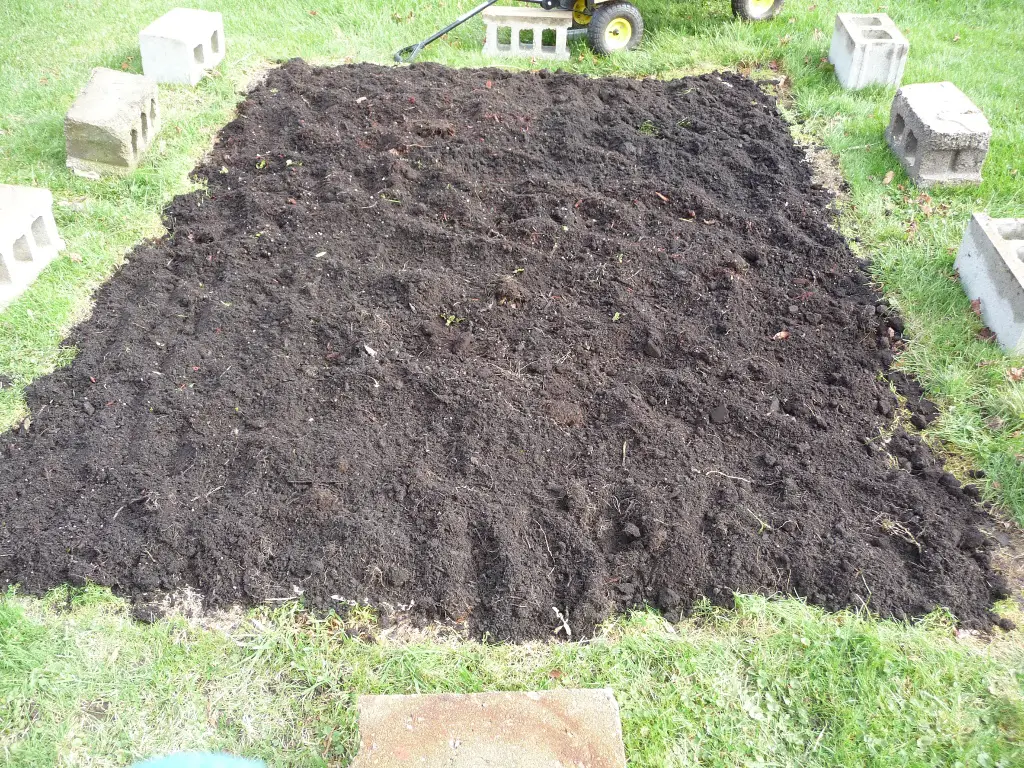
Voila!

Here's a close-up of the soil.
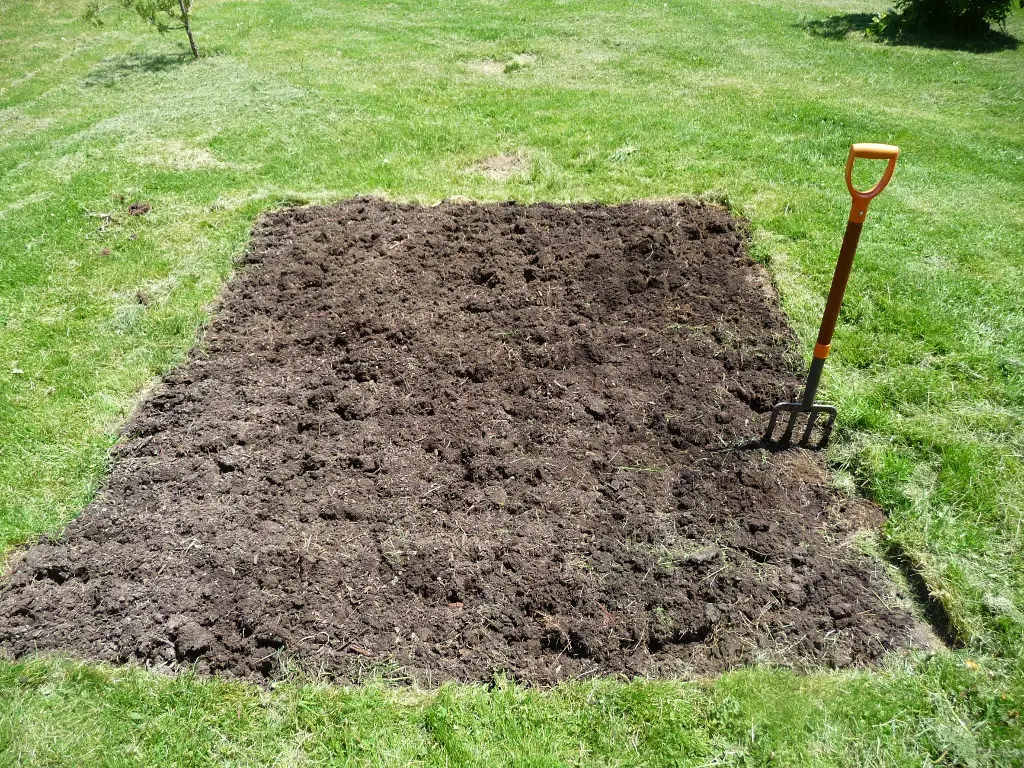
Pitchforked the whole garden for drainage and root growth.
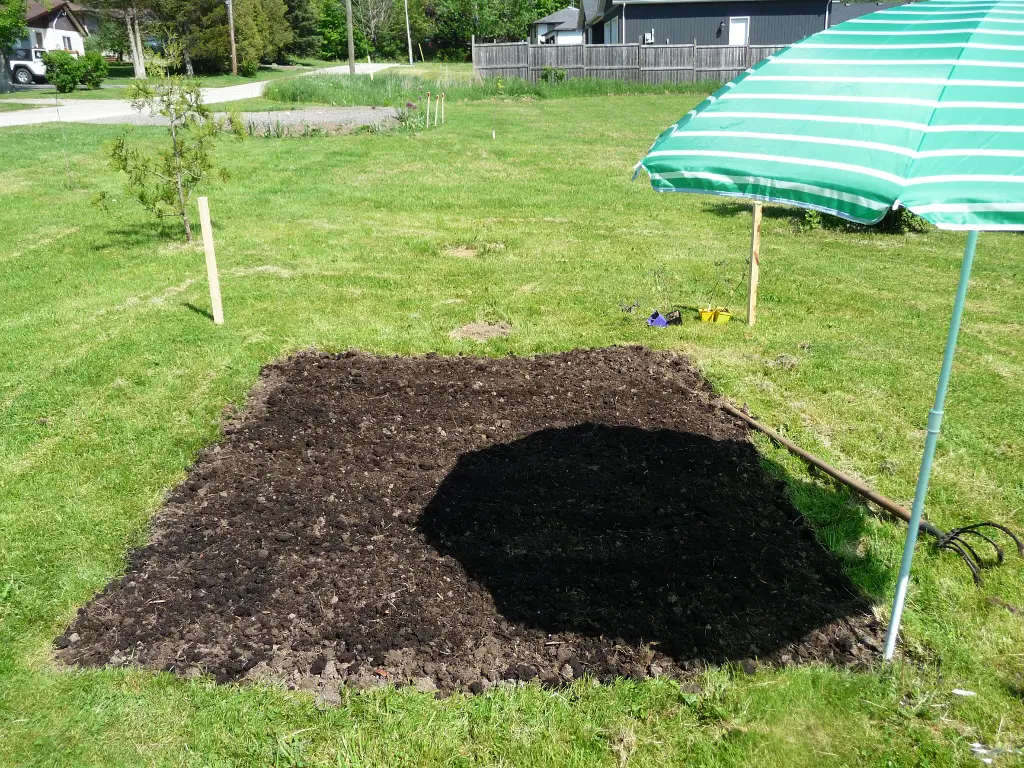
I added four bags of top soil, raking it into the surface to enrich the garden soil.

Got the plants in, but still have to sow some seeds, and will add grass clippings as mulch.
November 28, 2018
I lifted the tarp on my 8’ x 10’ no-dig garden experiment last May 25th that had covered layers of cardboard, paper and black soil for six months. During that time, the layers were magically transformed into beautiful soil, with almost every speck of grass, cardboard and paper completely decomposed. Also, I couldn’t believe how much easier it was to establish a no-dig garden compared to shovelling, turning over dirt and dealing with the clumps of green grass that are attached. It’s hard on the back, and shovelling and turning will also eventually deplete the soil of beneficial microorganisms.
This no-dig garden experiment was also my first official attempt at creating a vegetable garden. I planted six tomato plants, a zucchini, a few peppers, some lettuce, basil, parsley, kale, a cabbage and three giant sunflowers. Although I live in an area known for drought, the garden is within ten feet of the outside tap, so it got watered just about everyday and sometimes twice a day. I had planned to use grass cuttings as mulch, but decided against it because I have a lot of black walnut trees in this area and thought the chemical toxin they emit, juglone, might leach into the grass and affect my veggies.
I realize now that the biggest mistake I made with the garden was planting everything too close together. Now that I know how big everything gets, especially tomato plants and zucchini, I’ll cut back on the number of plants I put in the ground and I’ll space them apart more. As the summer progressed, the whole garden turned into a tangled web, making it almost impossible to get to most of the vegetables, especially the tomatoes. As a result, a lot of them didn’t get picked. But, I have to say, the soil was amazing all summer long. I had very little problem with weeds coming up, and if one appeared it was simple to remove because the soil was so loose.
I’ve decided to expand the garden, doubling the size, using the no-dig method (of course) and the same tarp. This time I laid down cardboard over the grass, with three bags of soil spread over it and the tarp on top. About one foot of cardboard covered in soil is sticking out from under the tarp on one side, and I’m curious to see if, or how well, it decomposes without the tarp covering it. I think I’ll plant fewer veggies and more flowers next spring, including zinnias and more sunflowers. I’ll keep you posted.
Meantime, below is a series of photos taken over the course of the summer, since my last submission on May 28th to this ongoing article.
June 25, 2018 - One month after I planted the garden (with a great view of the neighours).

July 25, 2018 - Two months after the garden went in - the tomatoes and zucchini are taking over.

August 25, 2018 – Three months after the garden began. Once the lettuce had bolted and was removed, I had room to plant some peas. I rigged together a wire trellis and some sticks to support the pea plants, only to discover that I could not find pea seeds (peas?) anywhere. Turns out that most of the seeds sold in stores around here are placed there on a commission basis and removed at the beginning of August. As a result, I was unable to find any seeds. I’ll stock up next year.

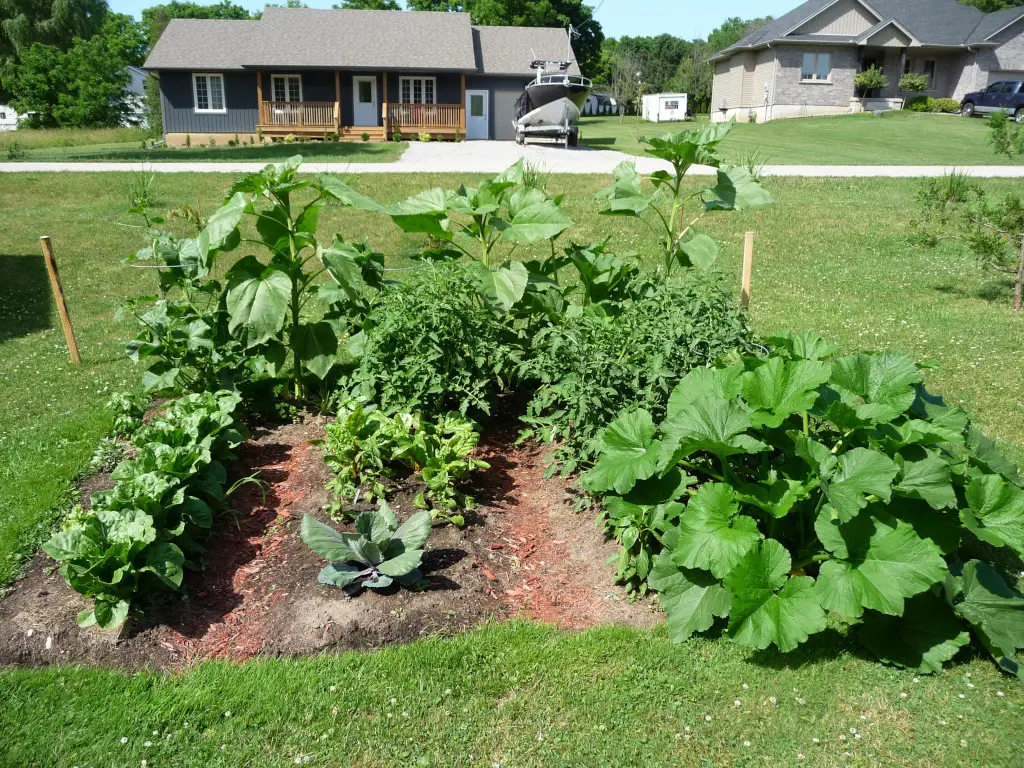
September 26, 2018 – Four months after the garden went in, I had removed some plants and replaced them with transplanted green peppers – liberating them from the tangled mess. And everything continued to grow.

This photo was taken late in the season, but shows the tangle of plants too close together.

Site of the no dig garden extension.

The no dig garden extension waiting for spring.
Search Wild Foods Home Garden & Nature's Restaurant Websites:
Share:


![]()
Wild Foods Home Garden Logo Copyright © 2017 David G. Mills.
Text Copyright © 2014, 2015, 2016, 2017, 2018 David G. Mills.
All Photographs Copyright © 2014, 2015, 2016, 2017, 2018 David G. Mills except where noted.*
All Drawings Copyright © 2014, 2015, 2016, 2017, 2018 David G. Mills except where noted.
All Rights Reserved.
This may not be reproduced in any form, in whole or in part, without written permission from the author.