![]()
Green Woodworking
(You can read about this in more detail and see many more pictures at The Cedar Log Cabin.)
Back in the early 1990's, I bought a book called "Green Woodworking - Working with wood the natural way" by Mike Abbott. I was quite taken with the book. Woodworking was something I had enjoyed doing right from building tree forts starting when I was seven years old, but I had always worked with dry, dimentional lumber and had assumed that's just the way it's done.
That book really opened my eyes to a style of woodworking that fit well with my personality. But due to living in the city, being busy with jobs, house renovations and everything else, I never did more than a couple of small projects of green woodworking.
When I moved into the delapitated settler's log cabin in late 2006, I forgot to take that book with me. I had the chance to do green woodworking in a home that would have been made with green wood itself. As I worked away on the cabin, I tried to make anything I did fit in with the period of the cabin. The only problem was, I had no teacher, didn't have the book anymore, and had to rely on old memories of the book. As you can imagine, what I came up with wasn't true to the styles and traditions of British Green Woodworking, but in the end, I was happy with the results.
The log cabin was made of White Cedar (Thuja occidentalis), a wood commonly used in that area of Central Ontario, Canada. On the property, there was White Cedar, Red Pine and one or two of many other types of trees. The traditional hardwoods used by the British green woodworkers, was not to be found. Because White Cedar is a unique wood in many ways - it is very different than any other softwood, let alone hardwoods, I had to come up with techniques that fit with that wood.
One of the first tools you need is called a horse, and this is typically one of the first projects a green woodworker makes for themselves. You use it for holding pieces you are working on.
The Horse:
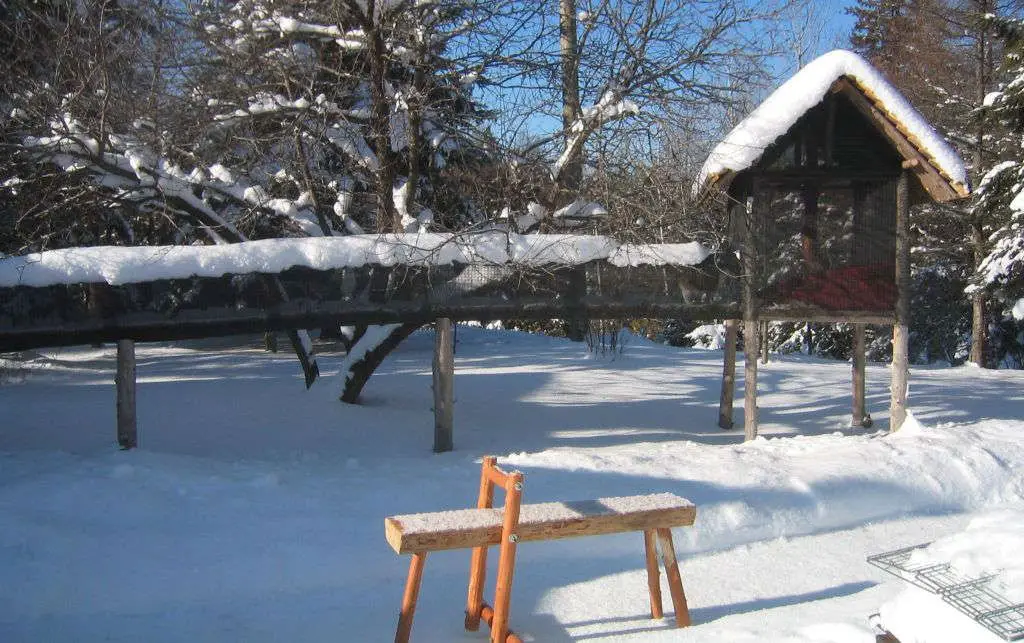
The green woodworking horse outside on a winter day about to start a new project. The bench is Red Pine and the rest is White Cear. The Cat pen in behind is explained further down.
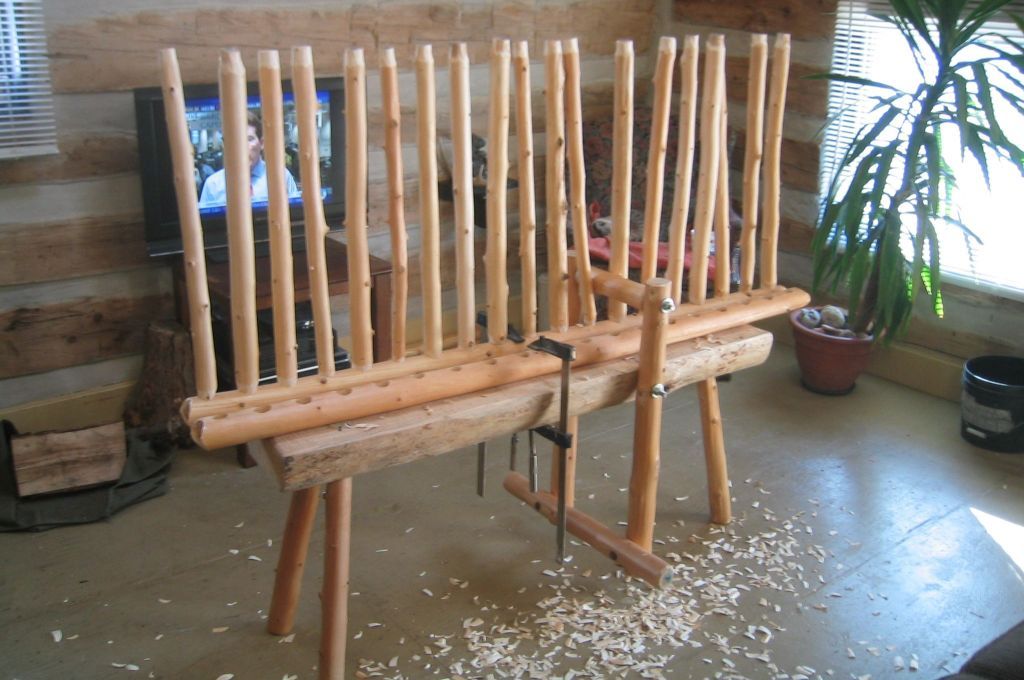
This horse was used all the time for so many different uses. The door I'm making is finished and installed in the picture below.
The Doors:
This door was one of my personal favorite creations. Since the whole cabin was heated by a woodstove in the main room, I needed a door that would allow air to circulate to the back room.
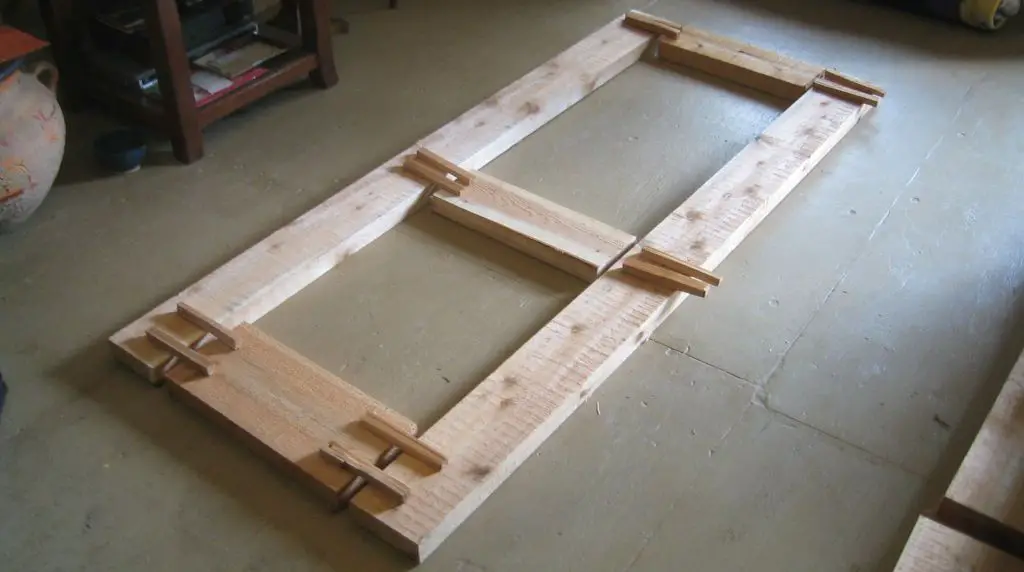
I milled the lumber from a fallen Cedar that went down in a bad storm.
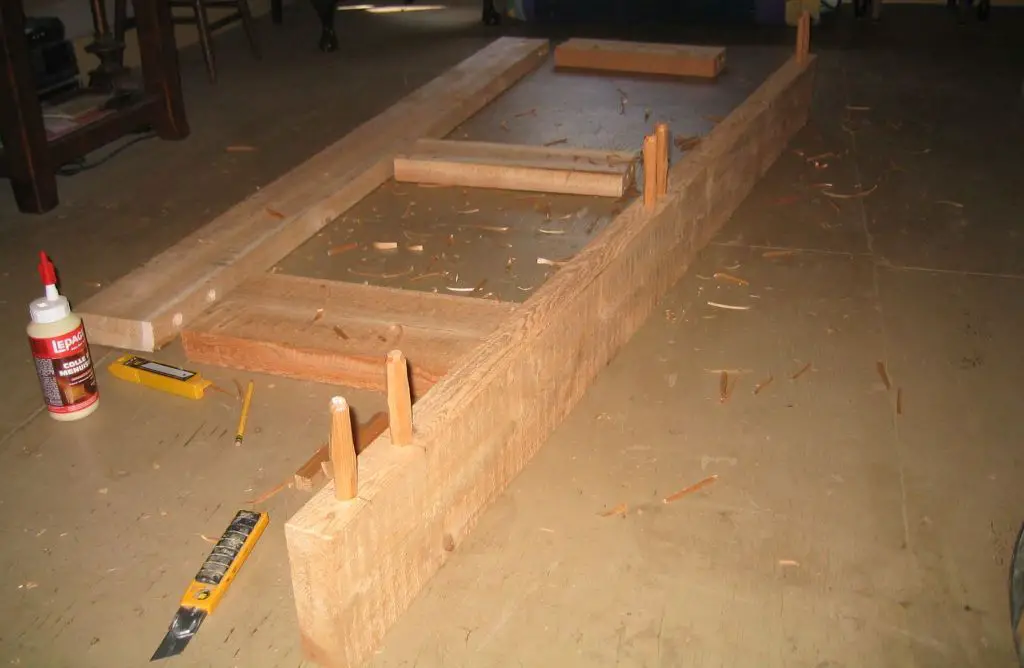
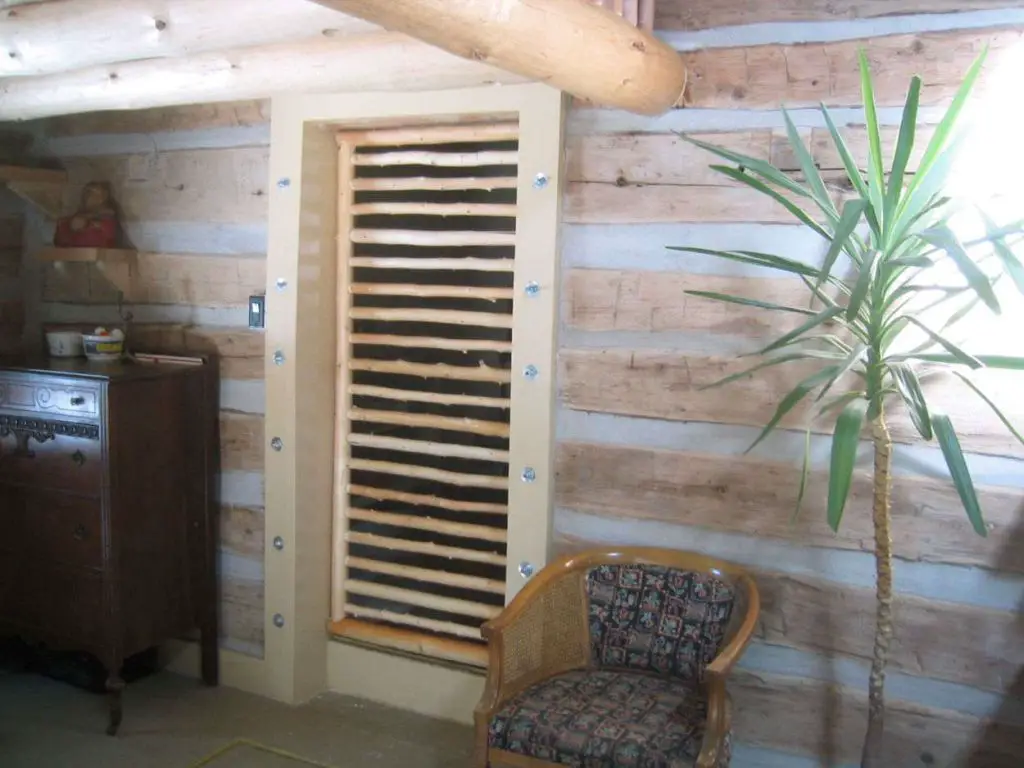
The tenons were all hand carved. This door was super strong, and because it was White Cedar, it was very light.

Door finished.
The Clothes Drying Umbrella:
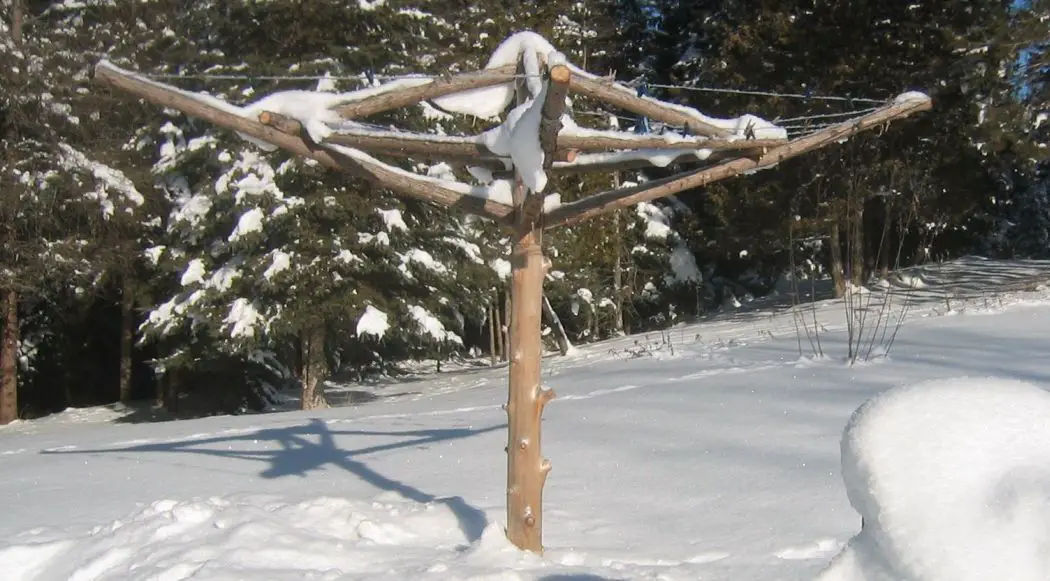
Of all the things I made while at the cabin, this was the crowd pleaser. People would stop by and ask if they could take pictures. It was large, the upward tilting 4 main arms were exactly 6 feet long.

Close up of the Cedar clothes line. You can see where I cut the main post, just under the upward sloping main arms. I smoothed the edges, drilled a hole in the upper and lower, put in a steel pipe and put wax on all moving parts. It spun so easily, it would spin in a light breeze if there were sheets hung on one side.
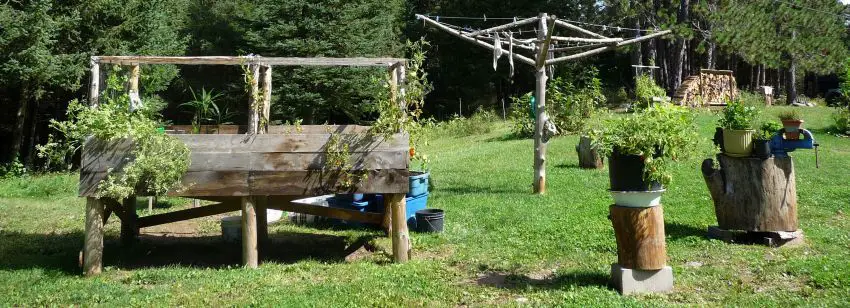
Almost everything for the yard was hand made with green wood. On the left is the mini-greenhouse for starting plants in the spring. I would cover it with construction plastic sheet.
The Moose:
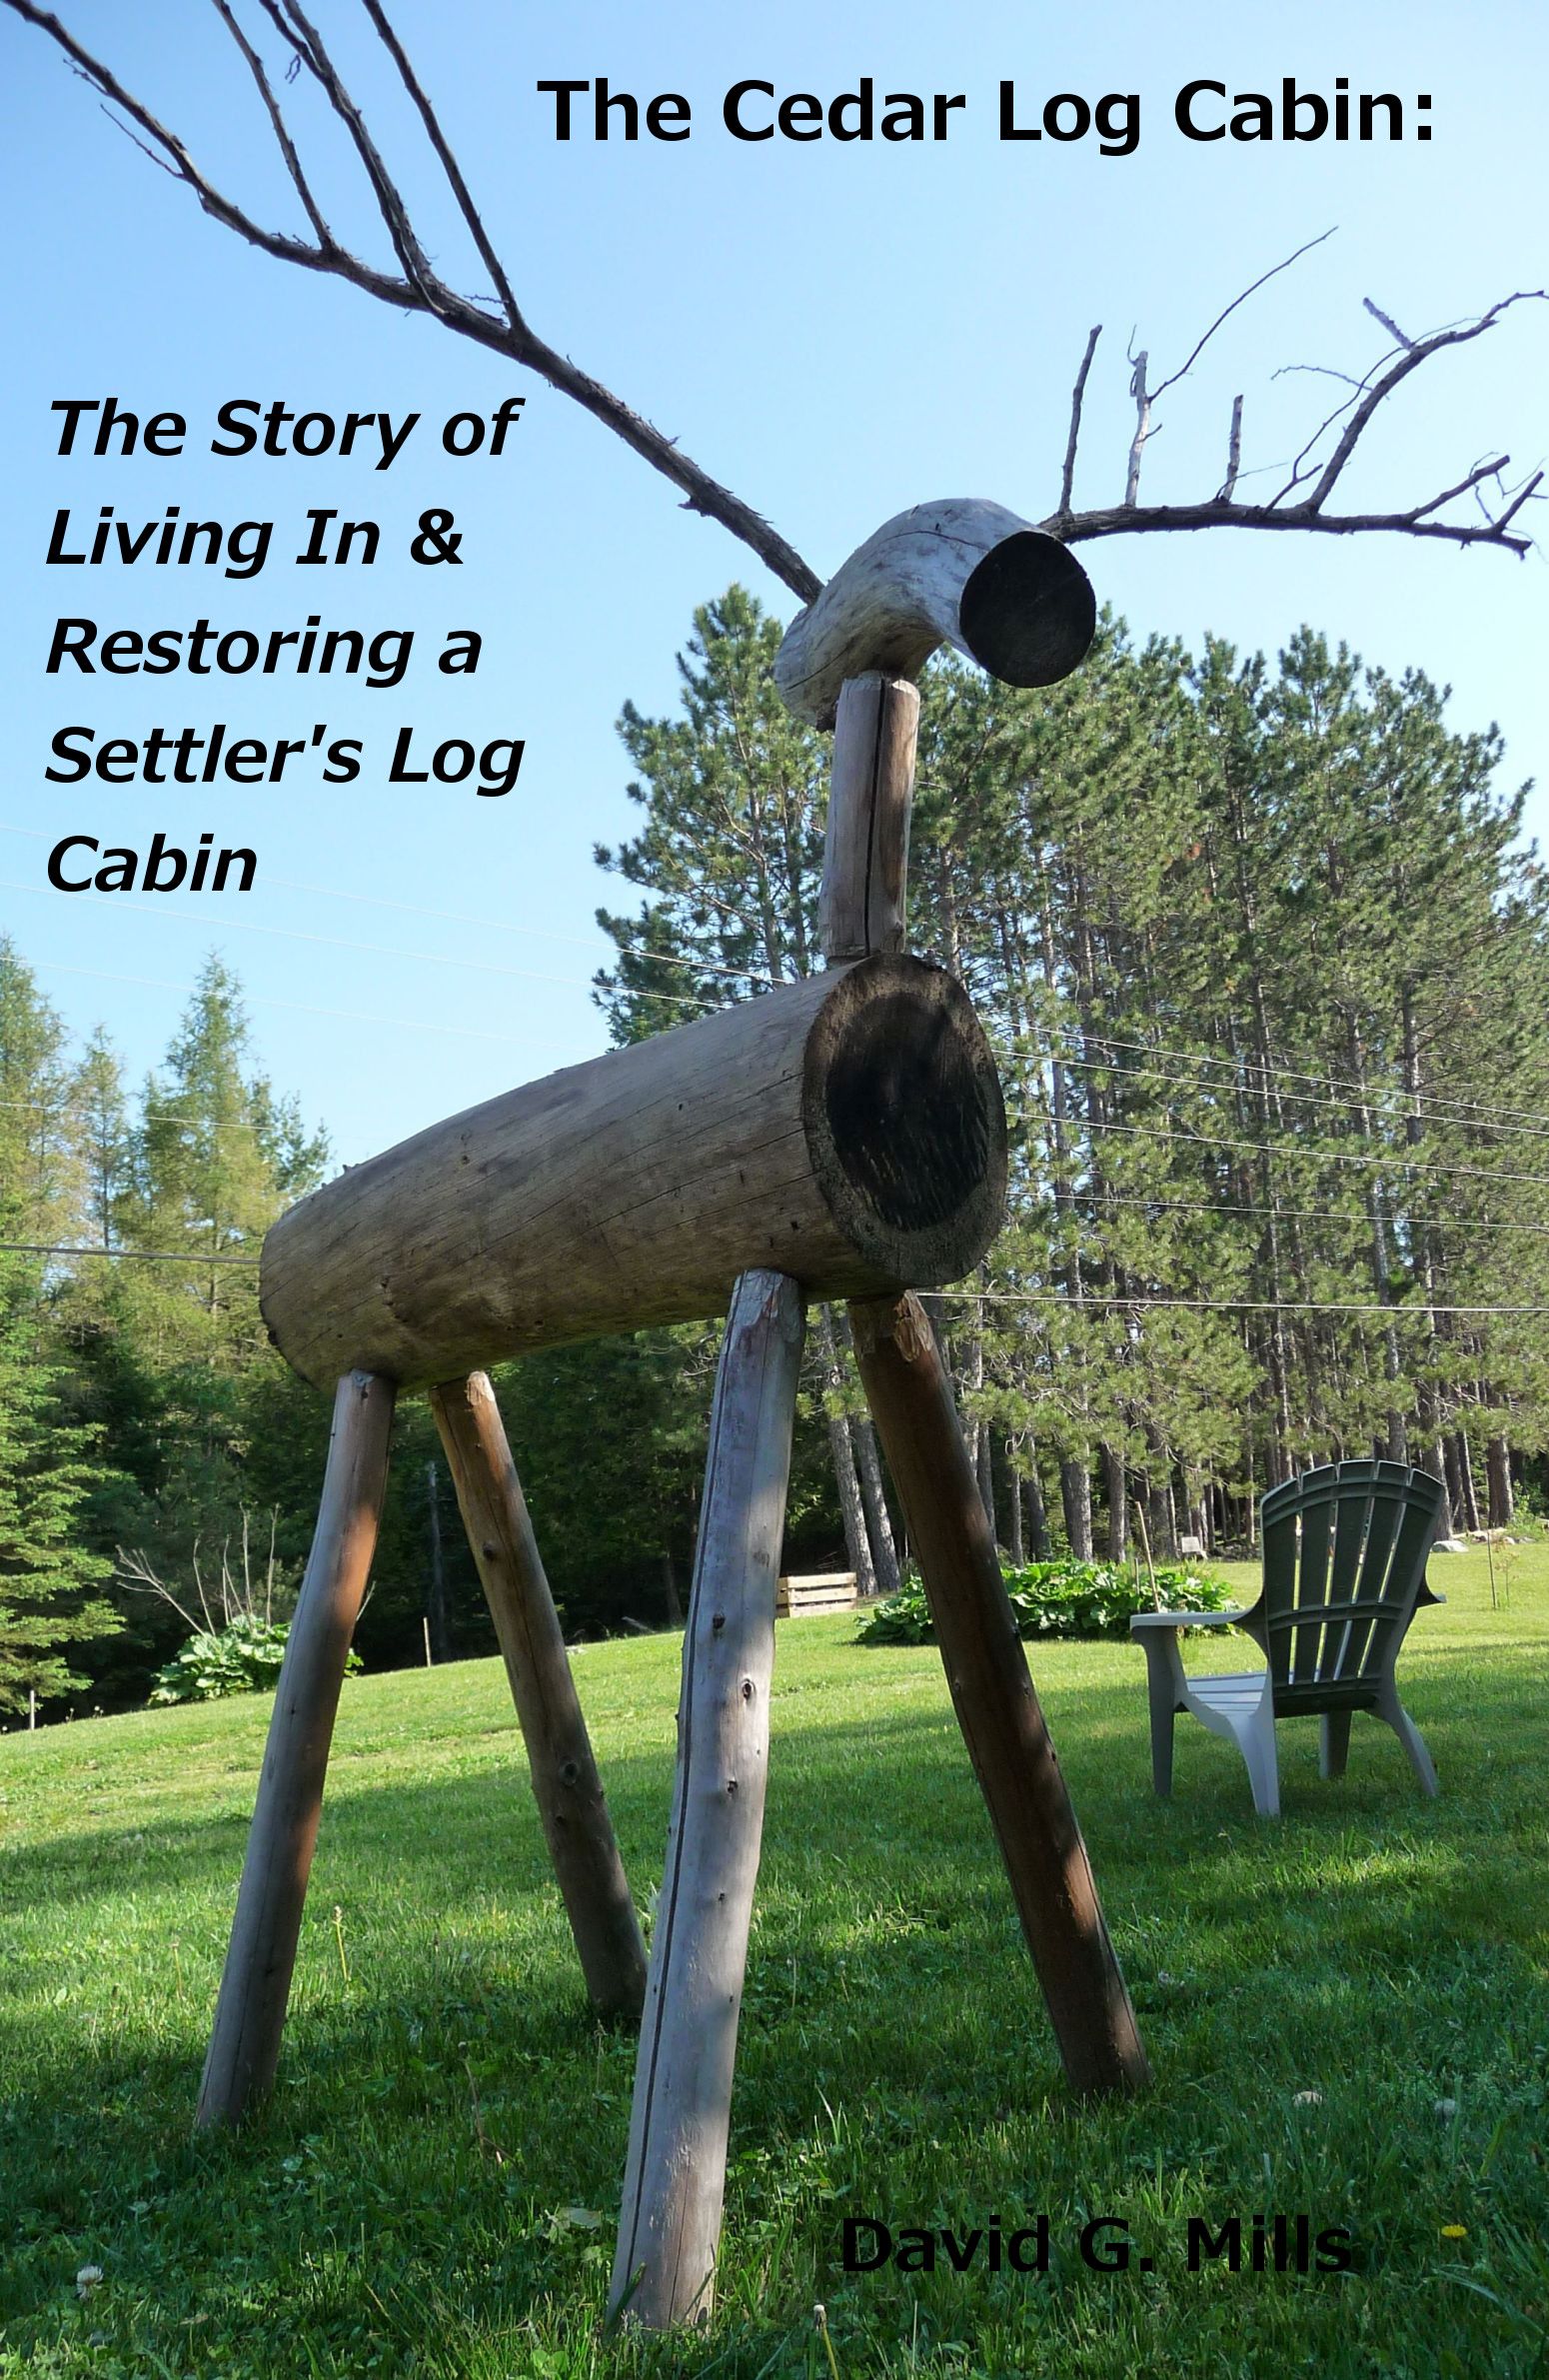
I used this moose as the cover for the book I wrote about the time living in and restoring the Cedar Log Cabin.
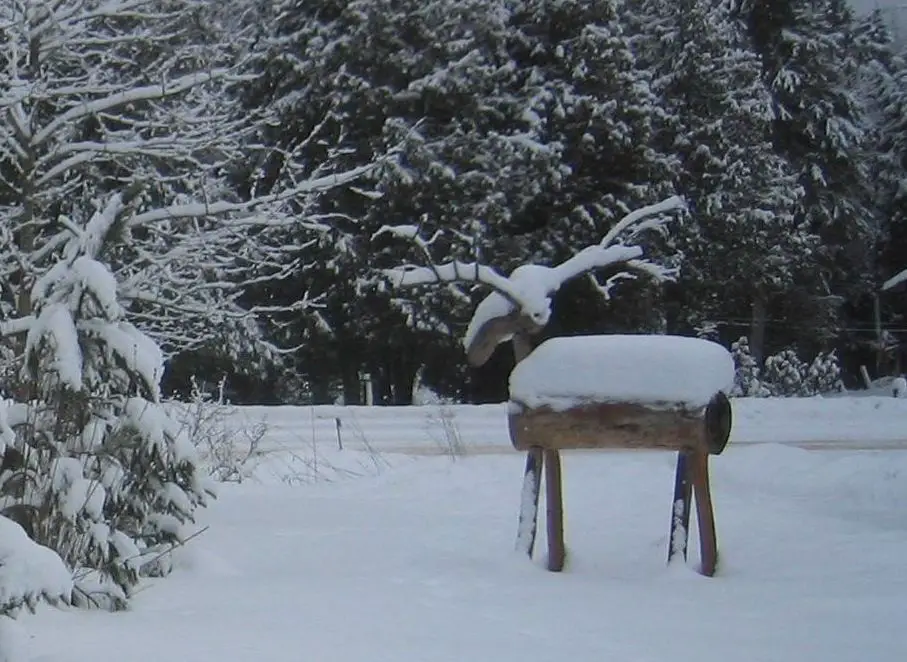
The moose patiently waiting for spring.
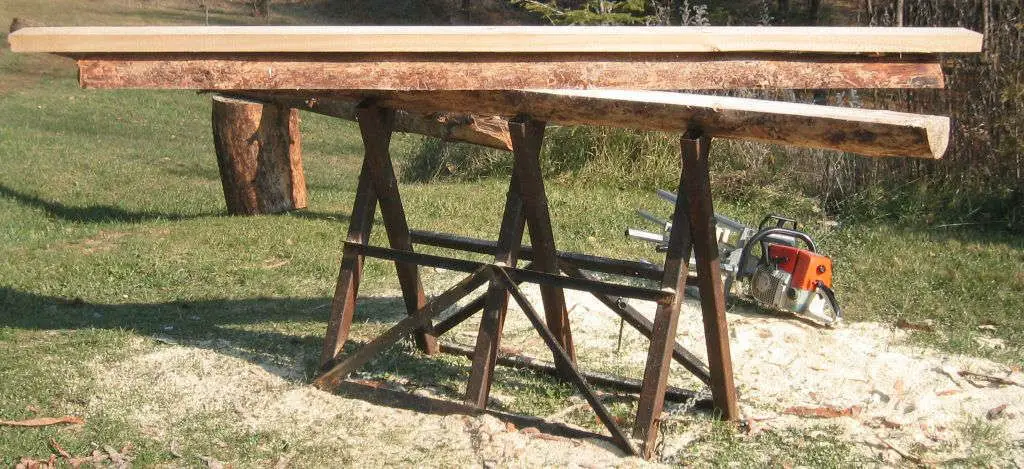
Milling Wood:
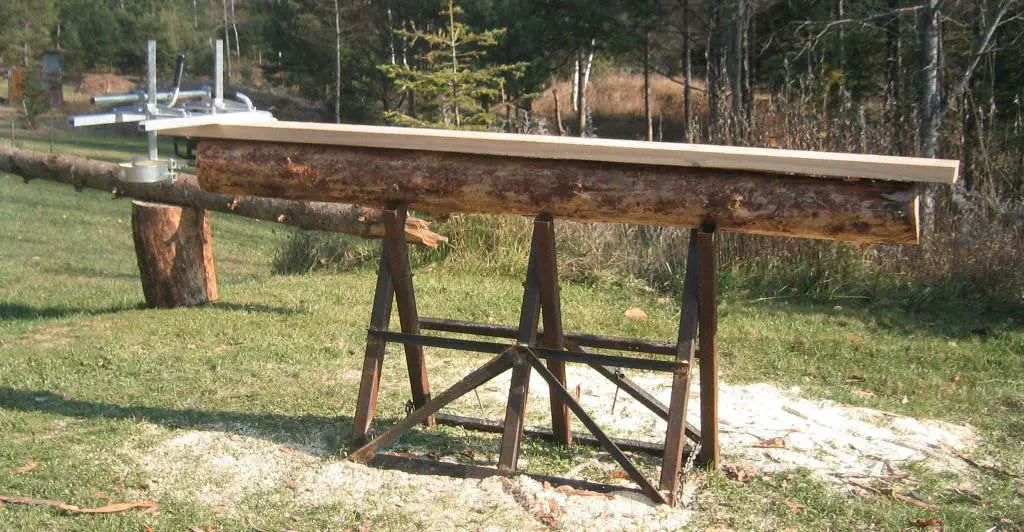
Using a board on top of the log as a guide to make a straight cut, then running the chain saw mill to slice the board.
This small log was sliced in half for making steps. I welded the log stand out of scrap steel.
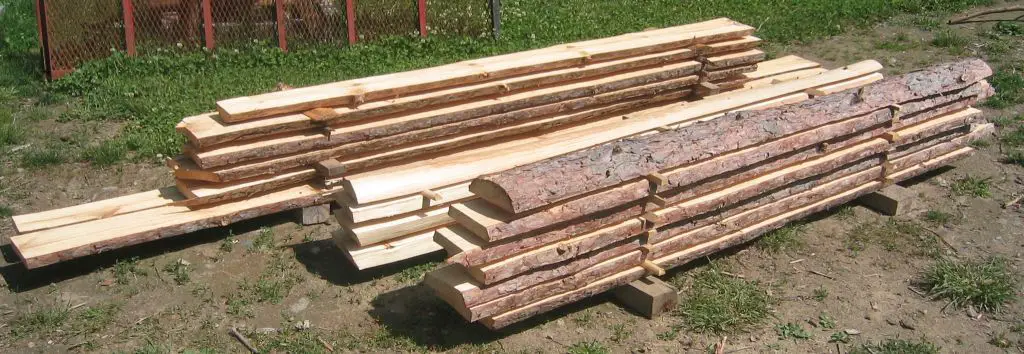
After the boards were dried, I cut the edges off on a table saw to make dimentional lumber for projects. Red Pine on the outside piles, and White Cedar in the middle.
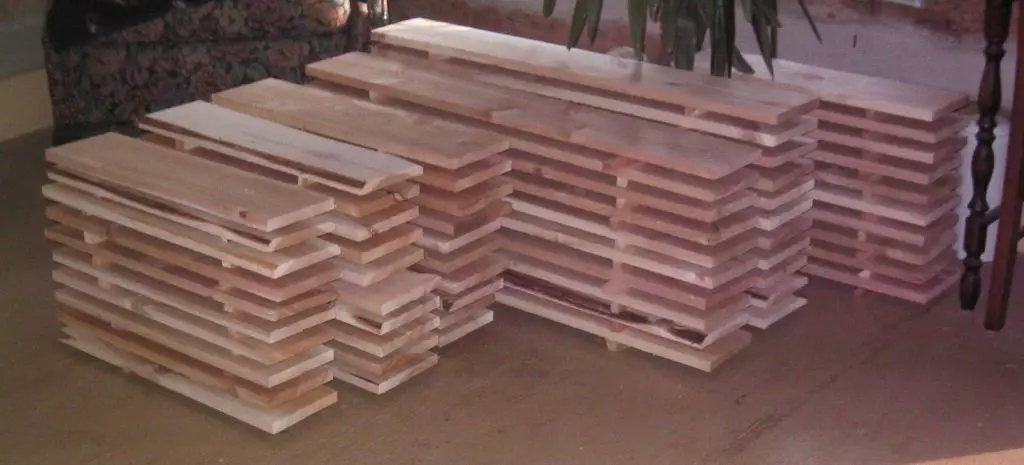
This White Cedar came from a huge tree that was uprooted in a storm. Used the wood to make cupboard doors.
The Loft:
The beams for the loft I made out of Red Pine that were on my property.
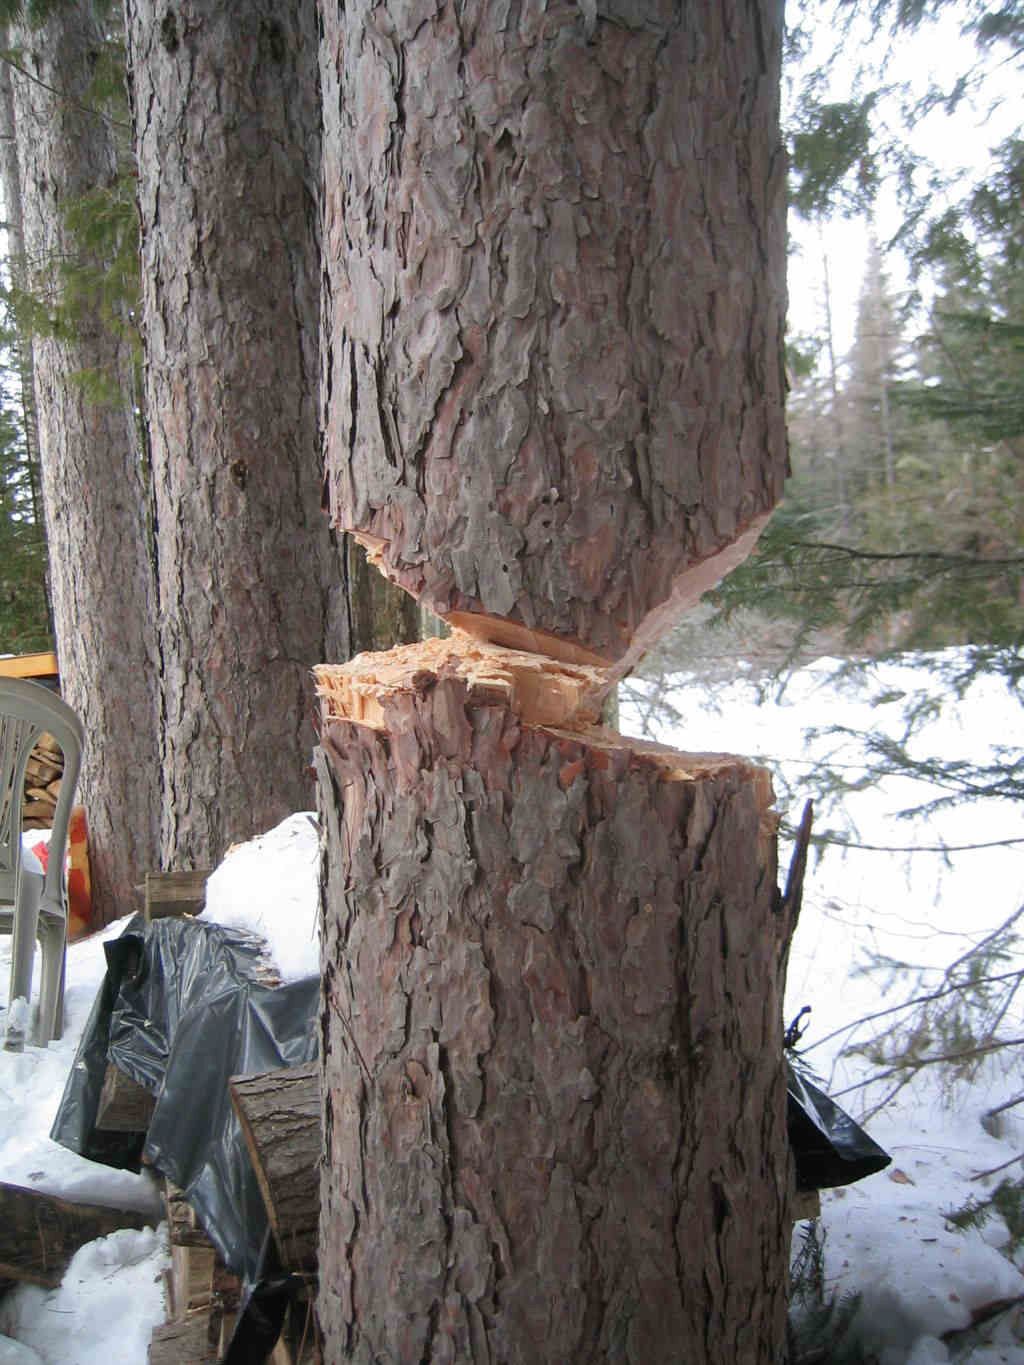
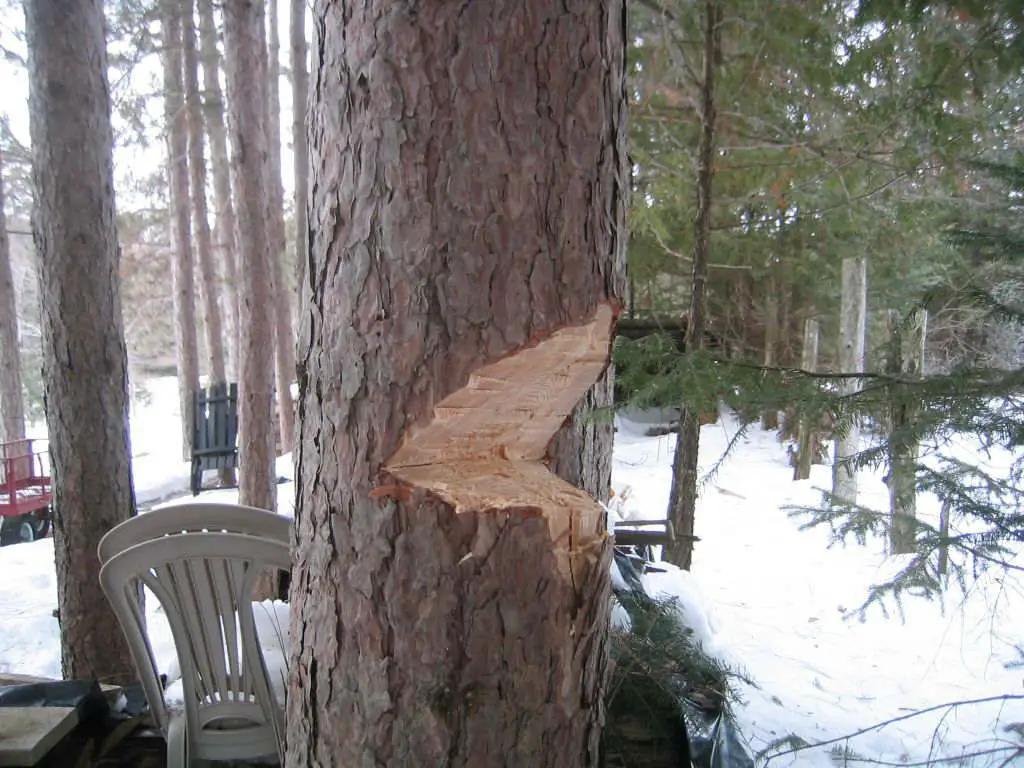
This tree which was used for the main beam was so straight and ballanced, it just stood there after I had chopped away to this little bit.
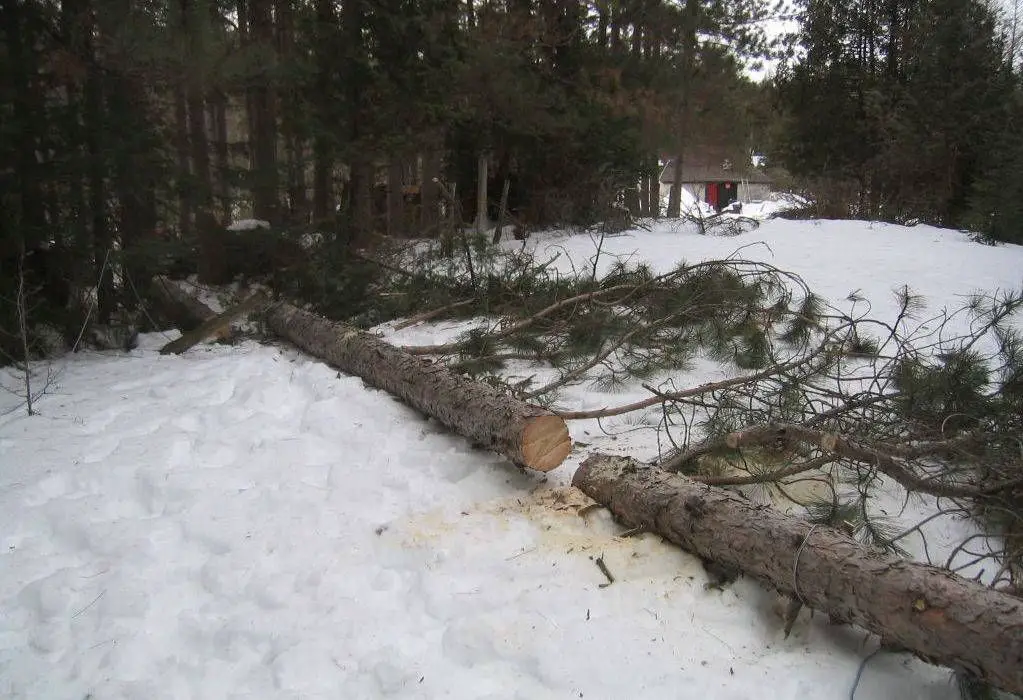
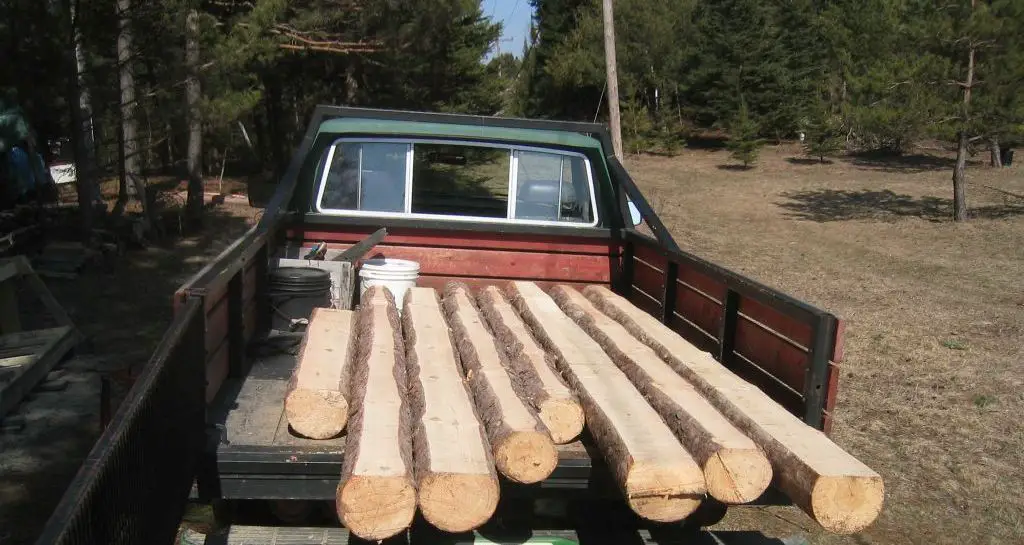
After the tree was felled, I cut out the best section for the main beam.
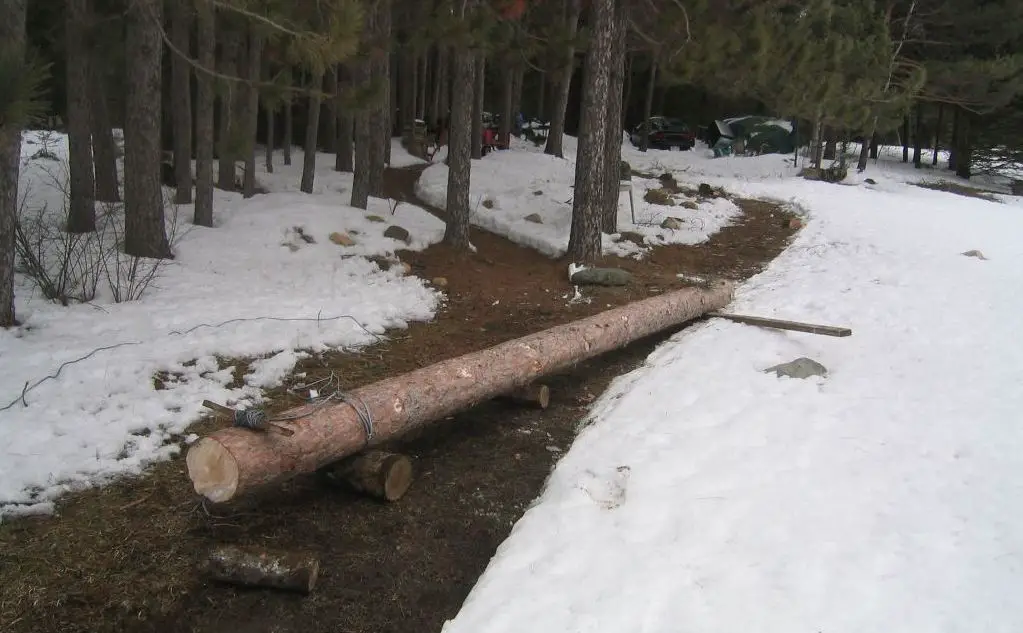
Getting it to the log cabin was a job in itself.
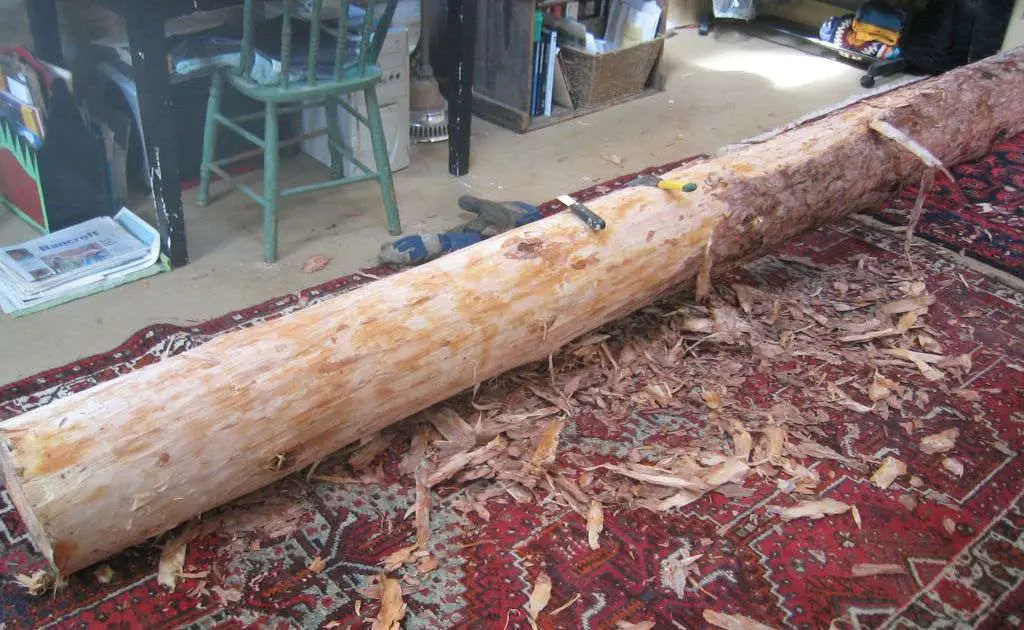
Taking the bark off in the main room.
Next job was scraping off the inner layer under the bark. I had to work fast with this, because if it dried it would not come off and looked terrible.
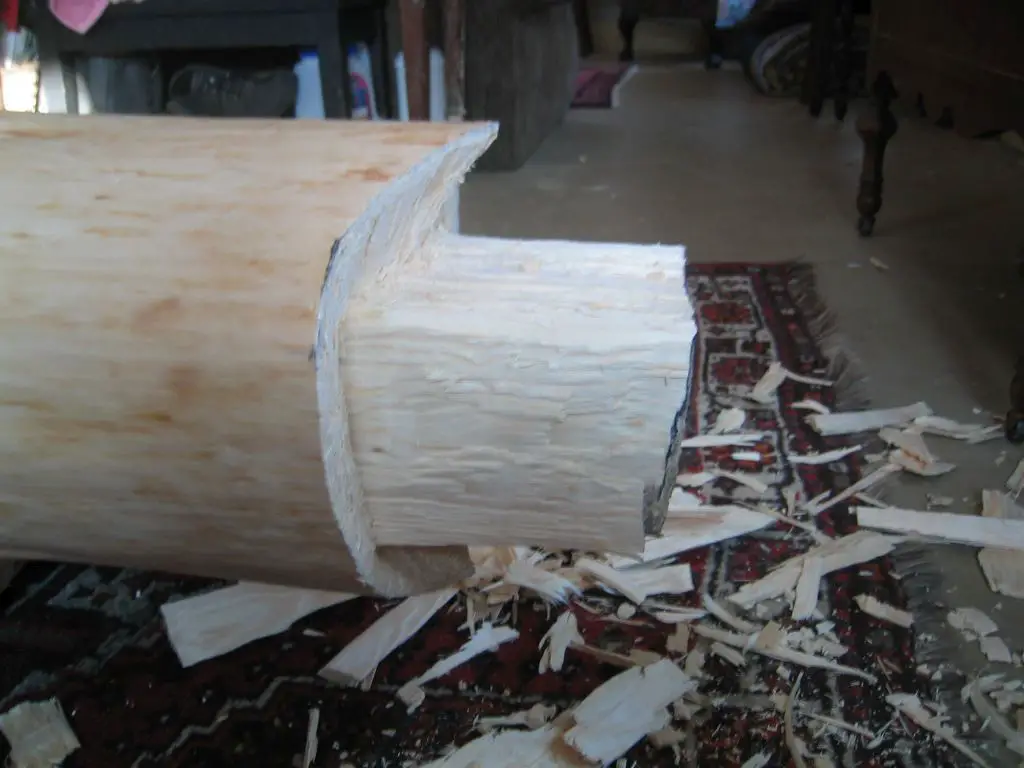
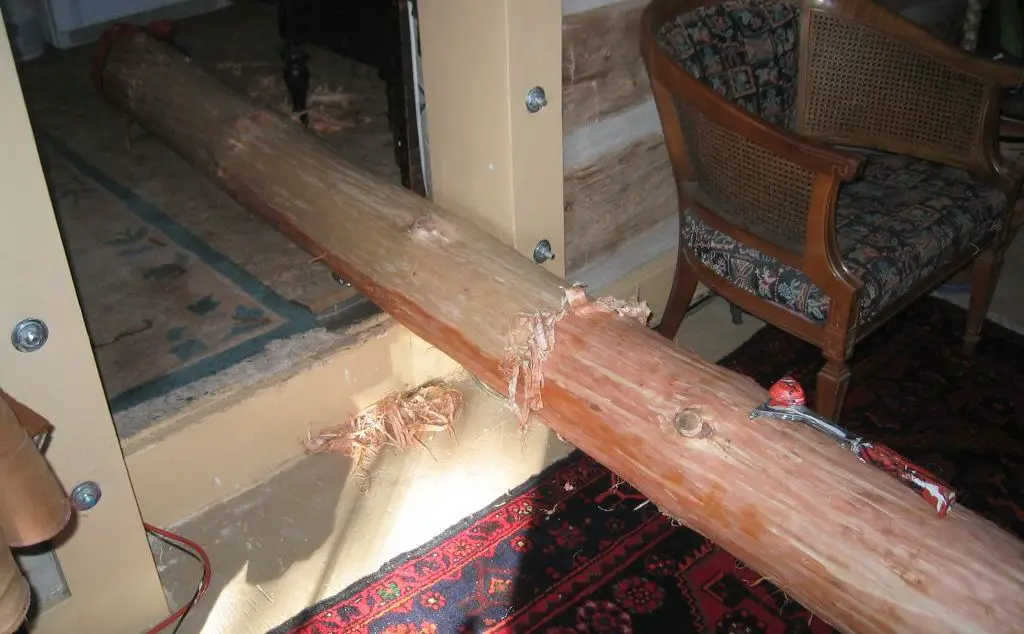
Next I chiseled a tenon into the end to fit into a matching mortice on the wall.
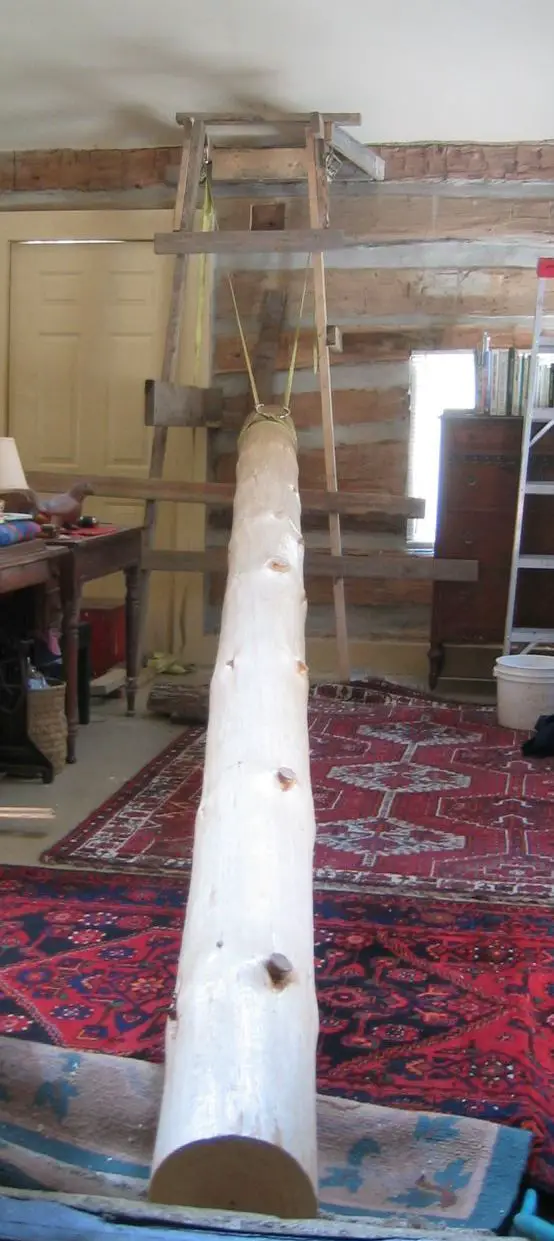
The log had to be lifted into place. Since I was working alone the whole time, I came up with jigs like this lifting jig.
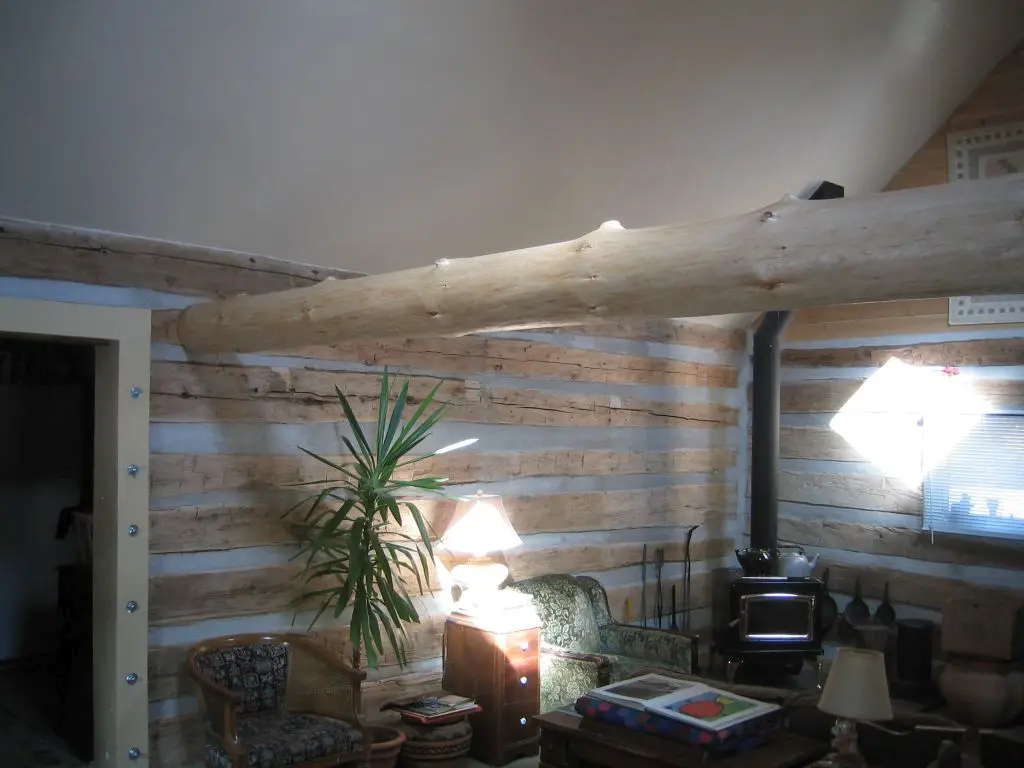
After the better part of a day, it was in place and secure.
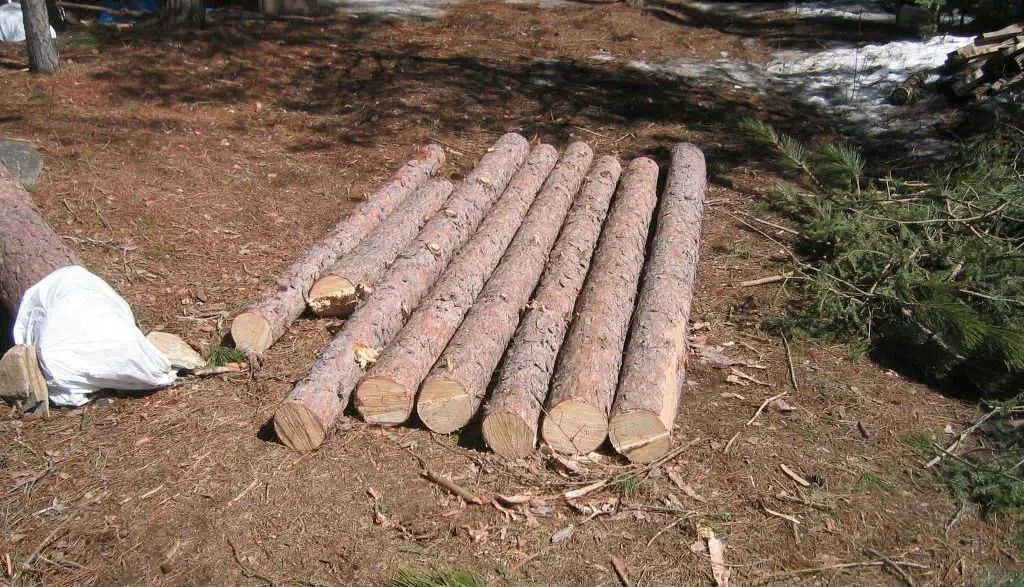
After the main beam was in place, I cut down trees for the cross beams.
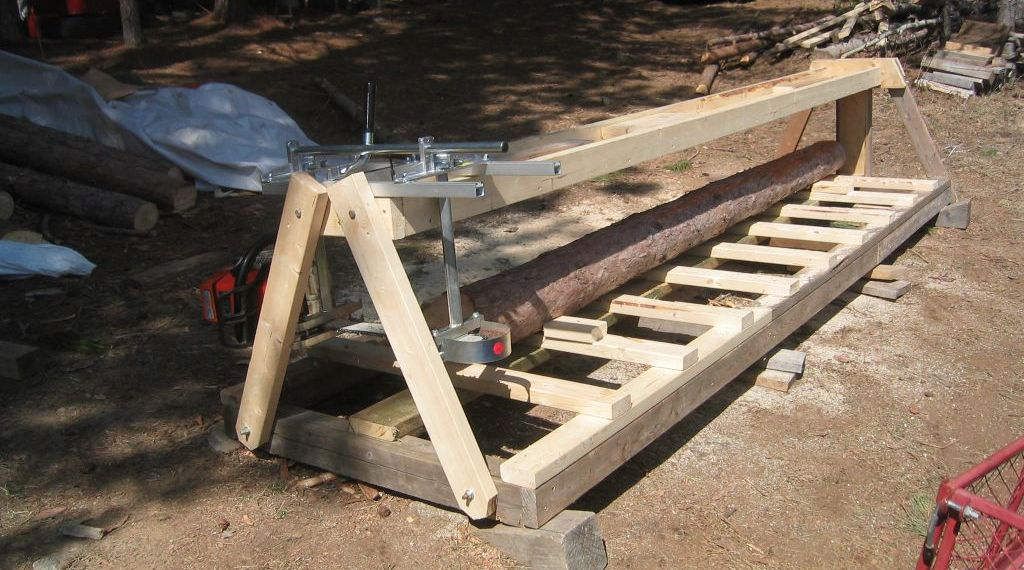
Because I had to mill an even flat side on the cross beams for the floor boards, I came up with this jig.
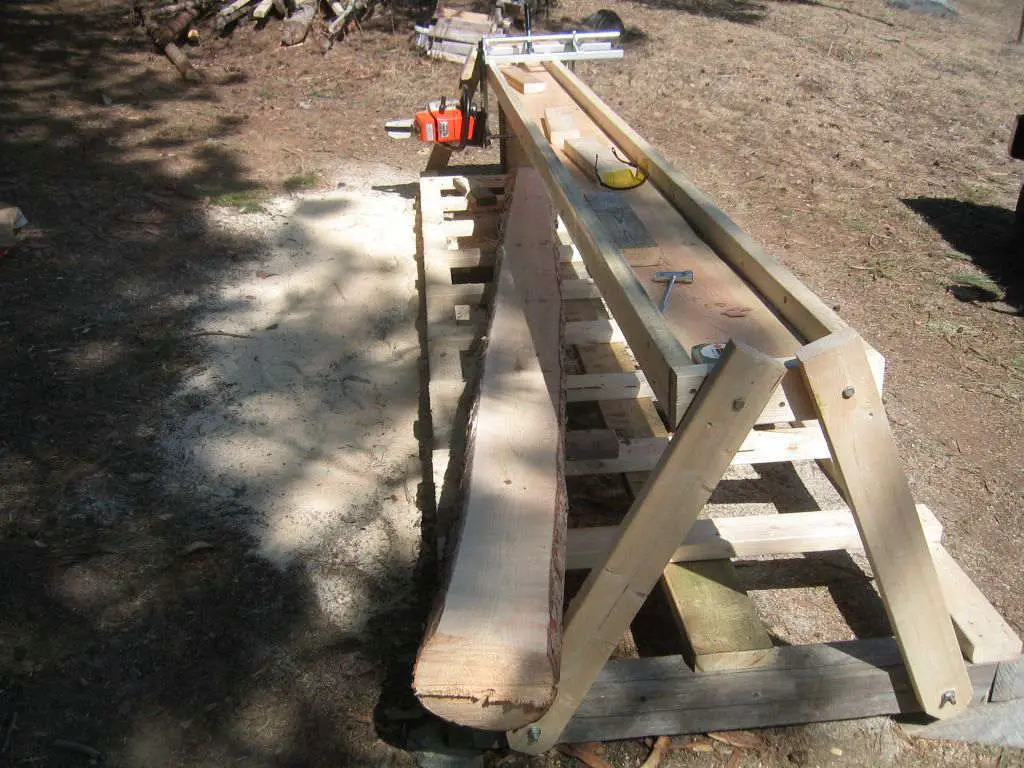
The chain saw mill slid along the top rail of the jig.
Regardless of the diameter of the logs, the jig made them all the same height when cut.
After debarking, and cleaning them up, they were ready to be shaped & installed.

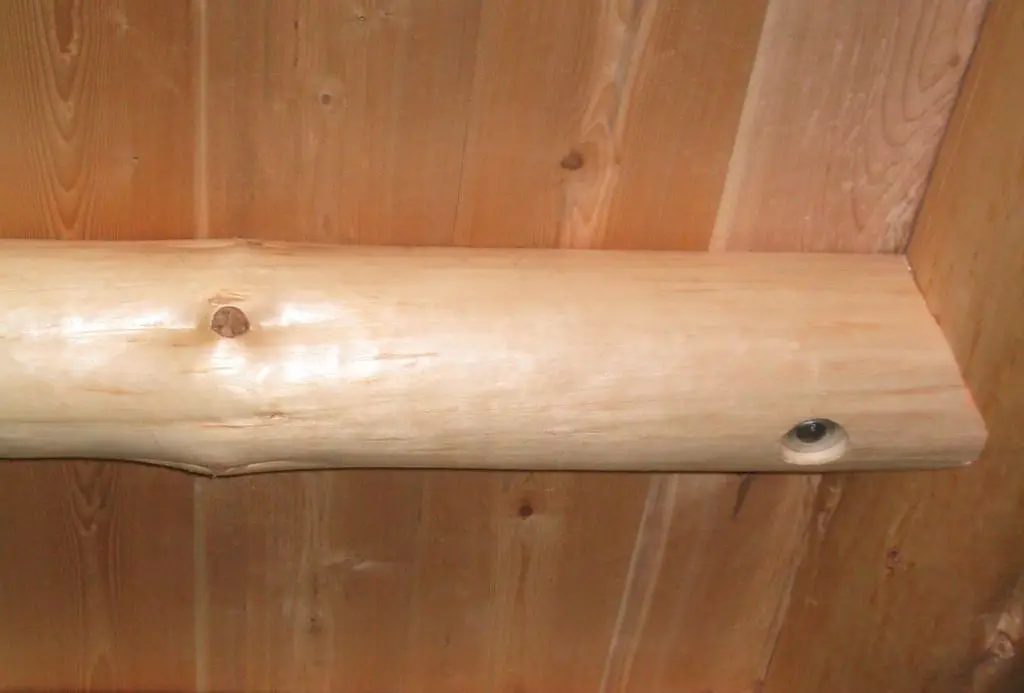
Though unorthodox, this adjustable steel tenon sytem was strong.
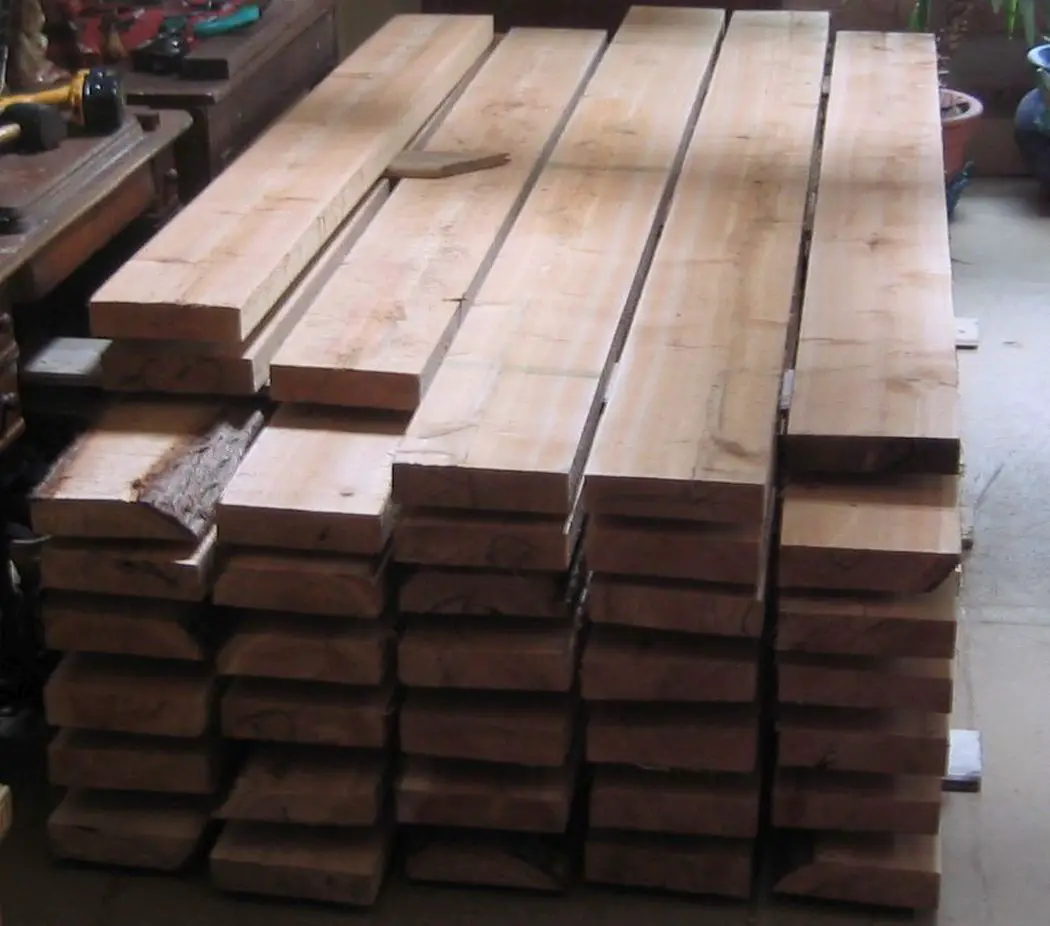
Rough, green 2 inch thick by 8 inches wide White Cedar for the loft floor.

After drying inside by the woodstove for a month, I used a router to tongue & groove them, then ran them through a thickness planer to clean up the rough, raw cuts.

The edge of the first floor board had to come flush to the round beam, so it had to be custom cut by hand.

To get a tight fit when installing subsequent floor boards, I used these truck straps to pull them tight.
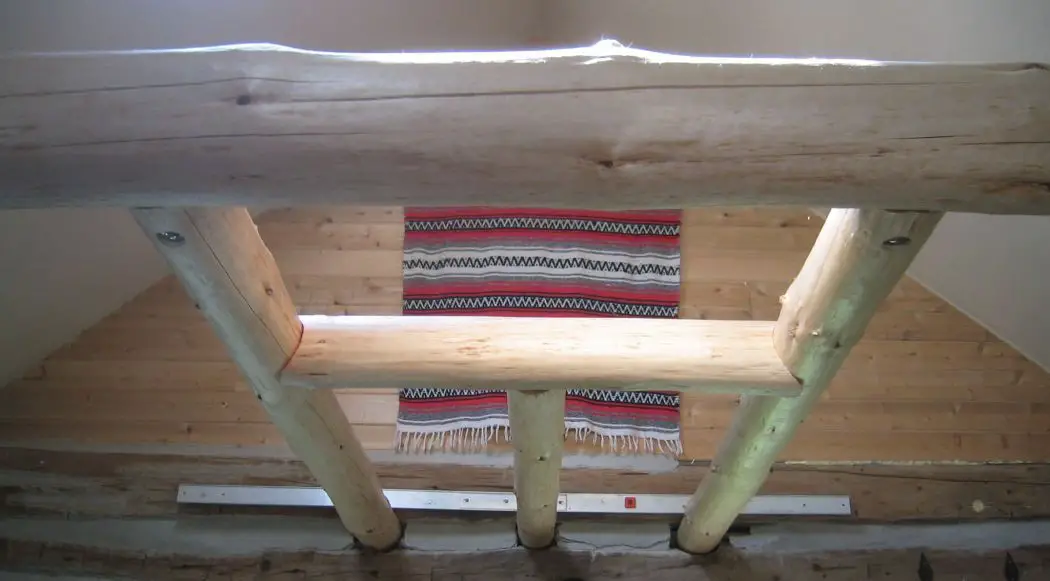
The installed floor from under the loft looking up.

The other end of the cross beams went into the wall.
Next was the job of the railings. More chopping down trees, debarking & fitting.
I had to steam the bark off the White Cedar branches I used for the spindles.
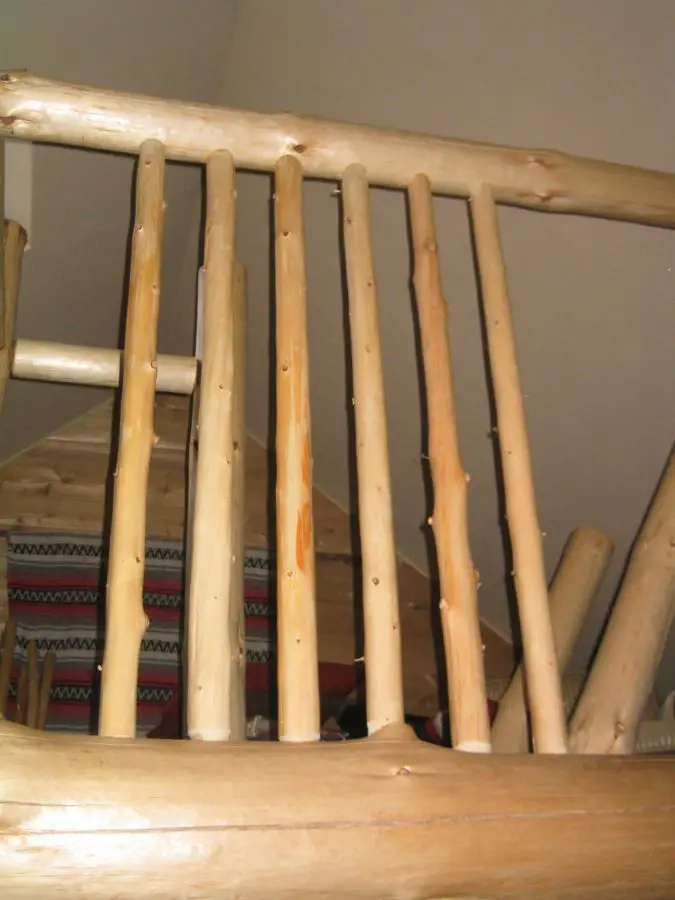
Starting to instal spindles.

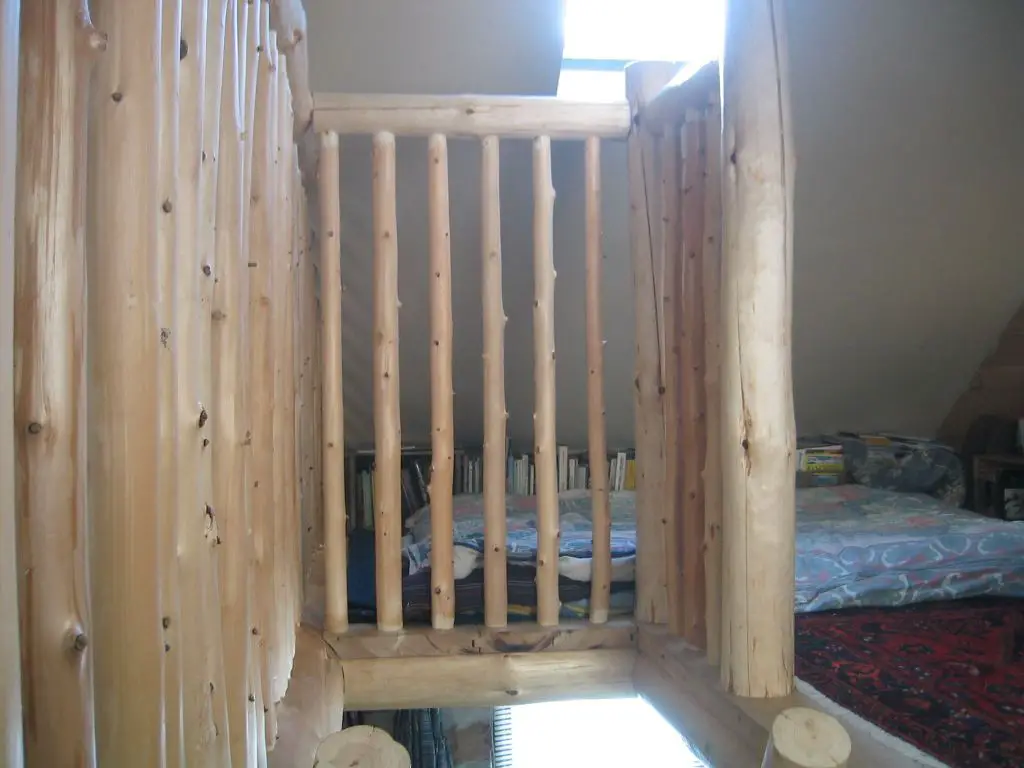
Spindles done.
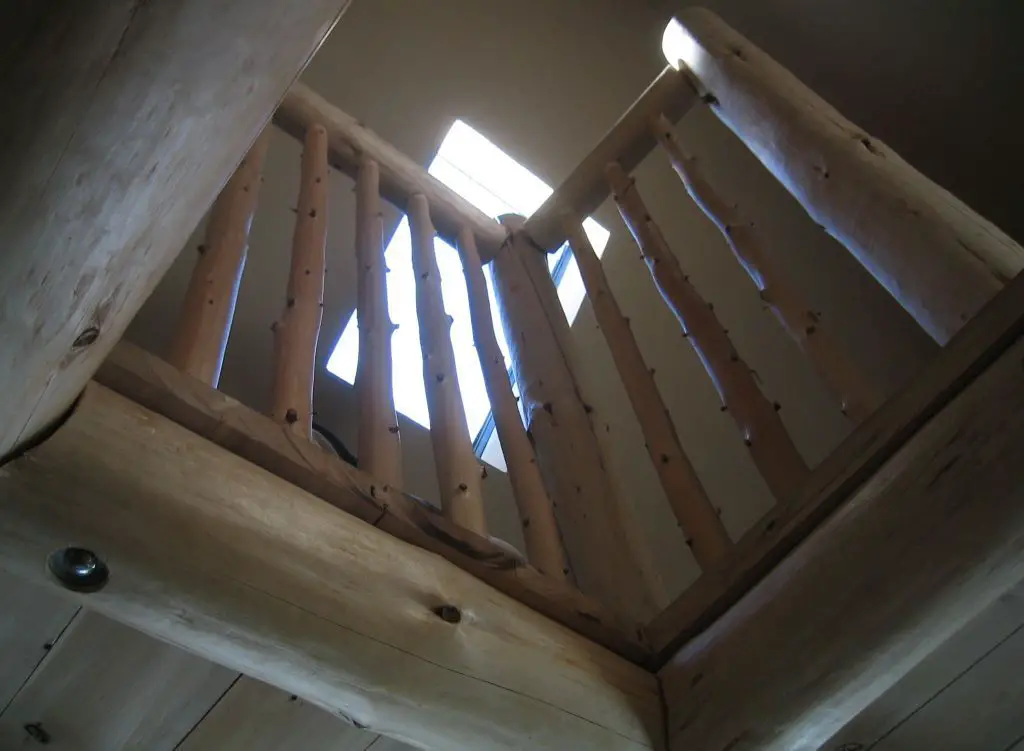
Railing and spindles around stair opening looking up.
Stair opening from above.
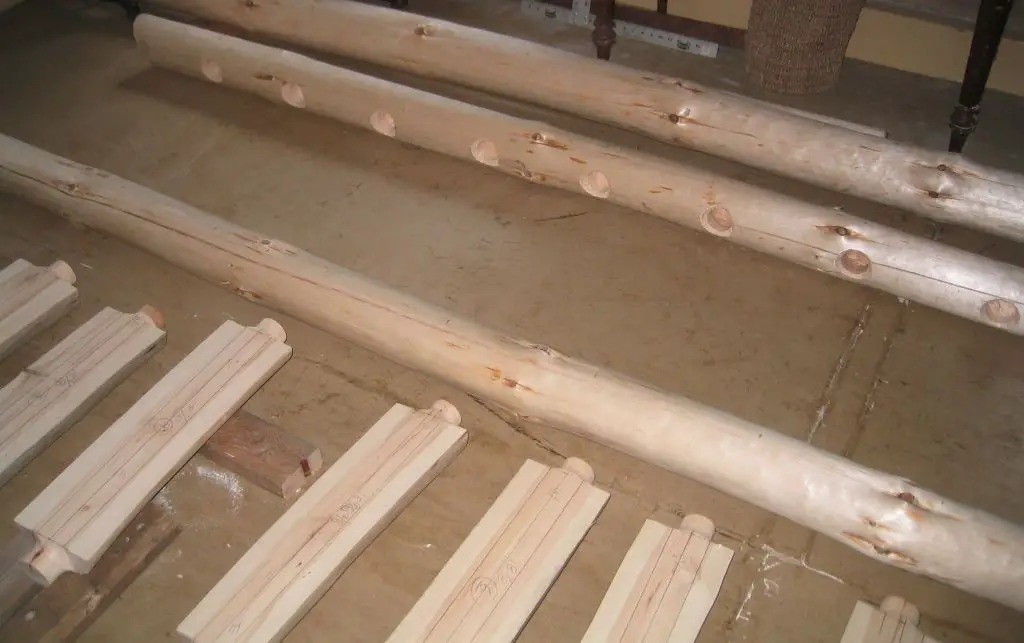
Next was the making of the stairs. This was a major project in itself. I cut tenons on the ends of each step.
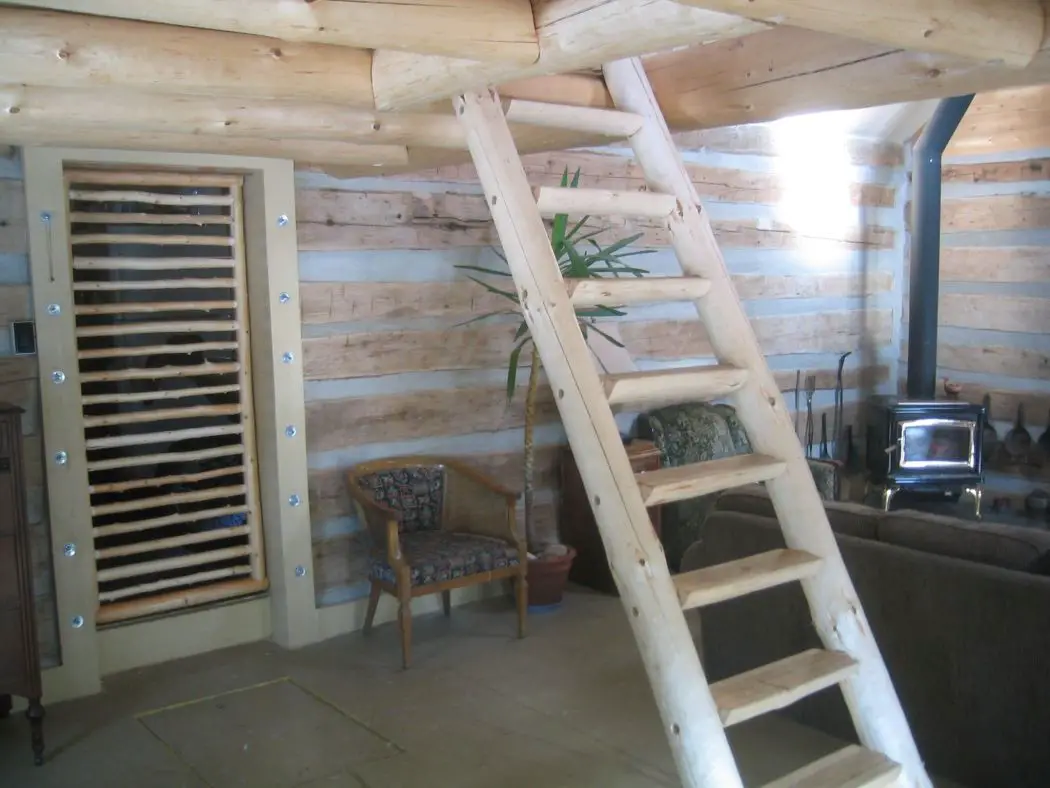
The stairs finished and installed.
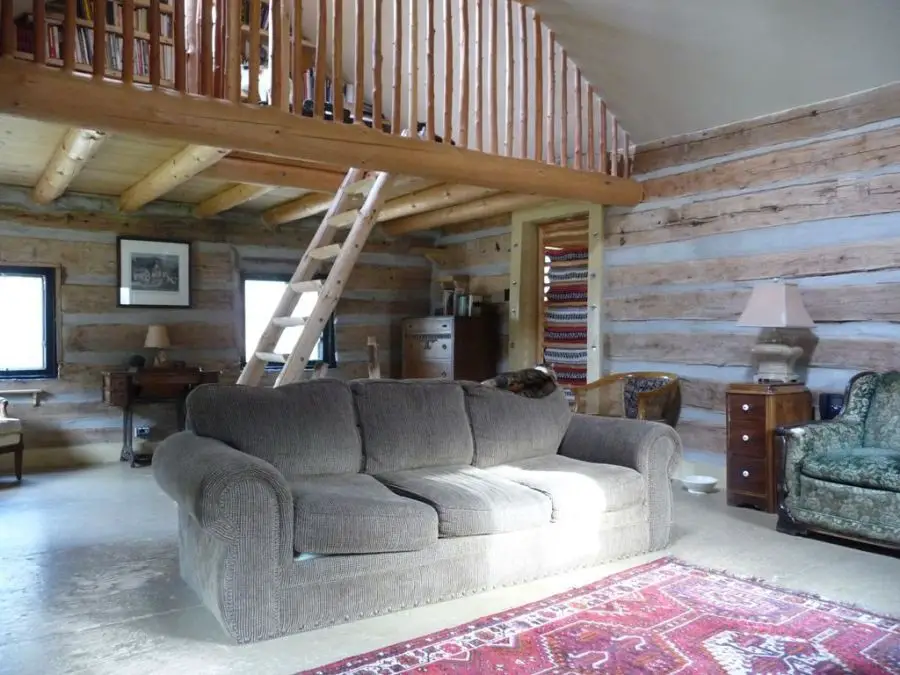
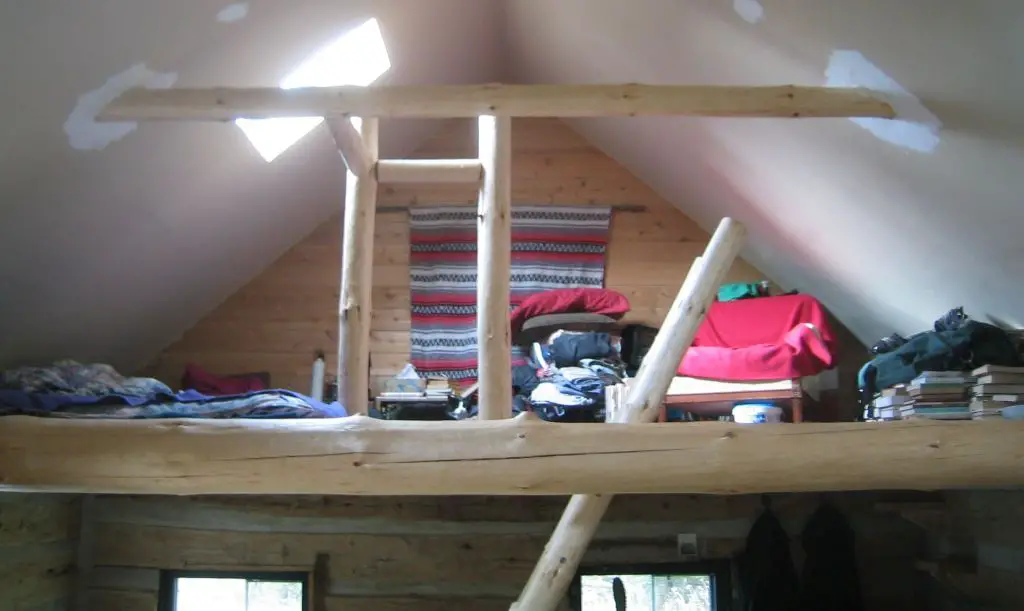
Loft finished.
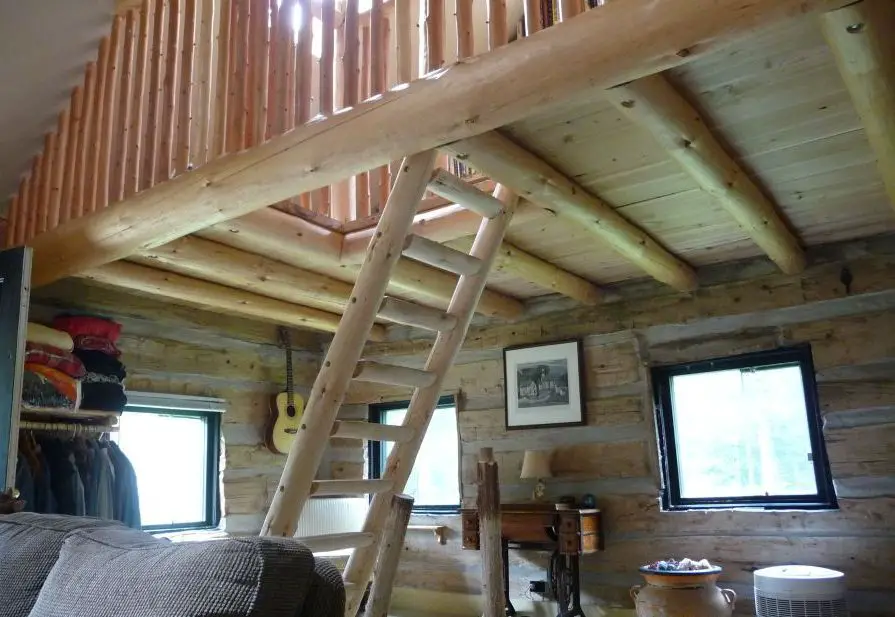
Different angle.
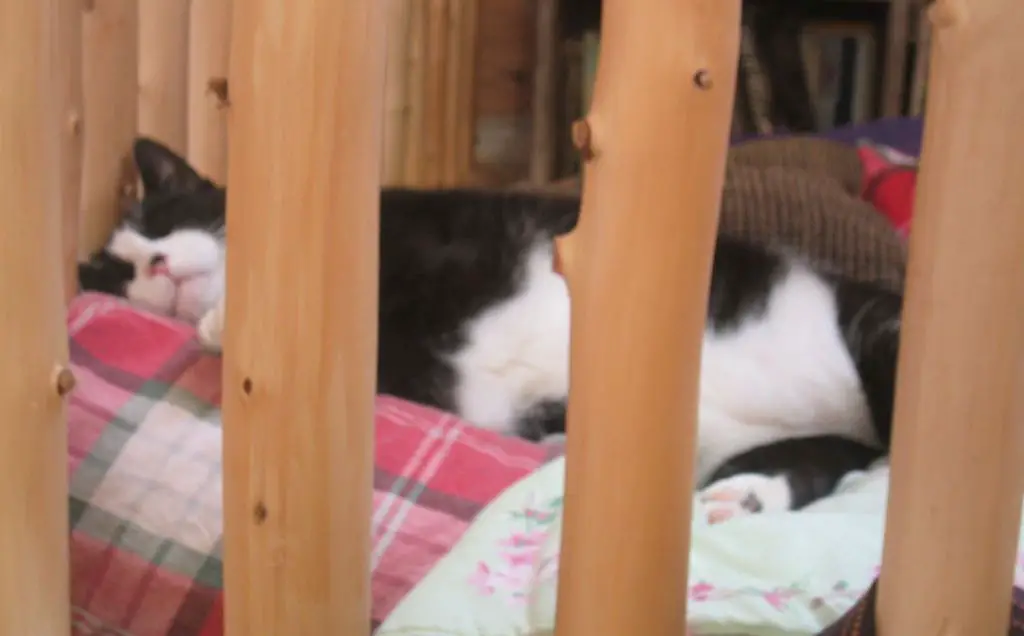
After the loft was finished, the loft inspector Cornelius made sure it met all comfort standards.
Cat Pen & Walkway:
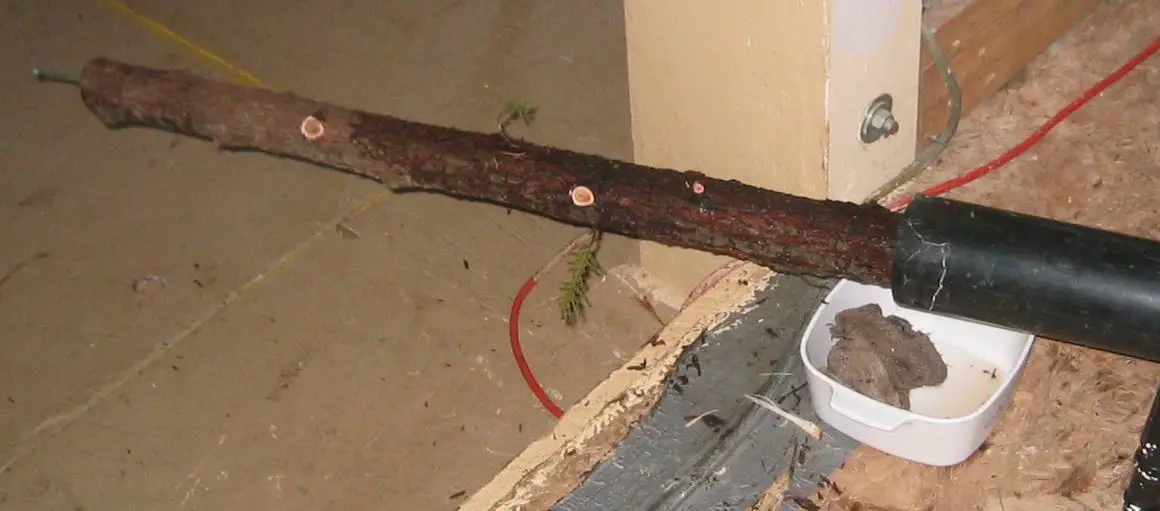
This cat pen was about 24 feet from the house. The tunnel is made from a White Cedar backbone and dozens upon dozens of 14 inch Cedar branch sections tight, side by side the whole lenth.
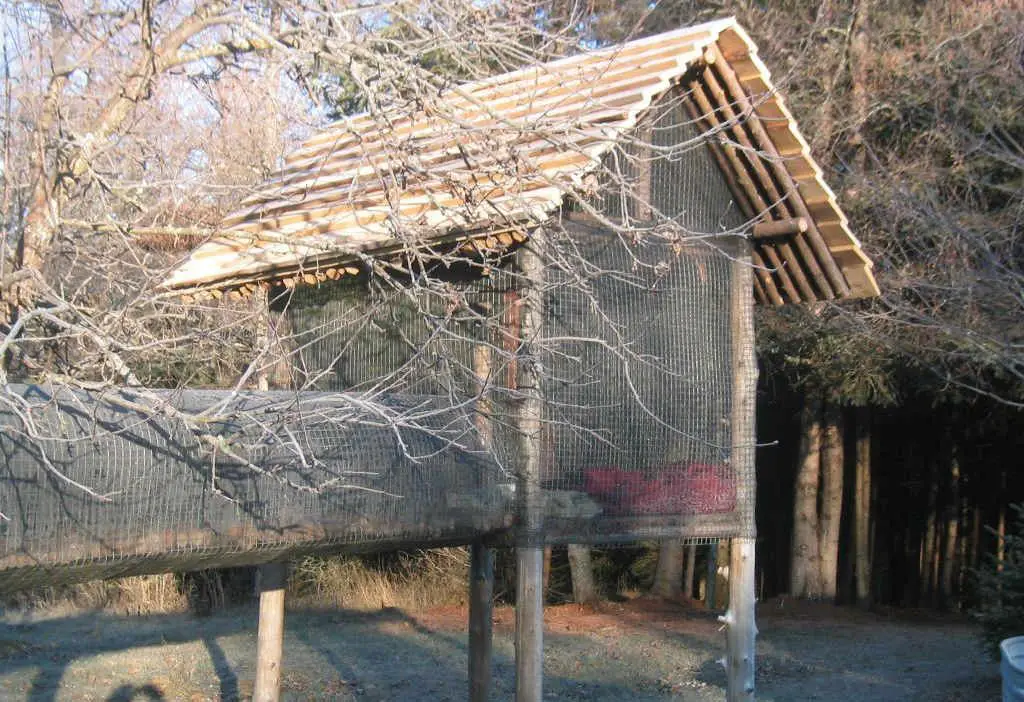
The cat pen in early spring. This picture shows the construction.

The covered cat bridge between the cabin and the cat pen under the Apple tree in flower. The cats loved to run up and down through it.
Why does this site have ads?
Originally the content in this site was a book that was sold through Amazon worldwide. However, I wanted the information to available to everyone free of charge, so I made this website. The ads on the site help cover the cost of maintaining the site and keeping it available.
Google + profile
![]()
Wild Foods Home Garden Logo Copyright © 2017 David G. Mills.
Text Copyright © 2014, 2015, 2016, 2017, 2018 David G. Mills.
All Photographs Copyright © 2014, 2015, 2016, 2017, 2018 David G. Mills except where noted.*
All Drawings Copyright © 2014, 2015, 2016, 2017, 2018 David G. Mills except where noted.
All Rights Reserved.
This may not be reproduced in any form, in whole or in part, without written permission from the author.